
Ordering on a Mobile Device
Step-by-step guide
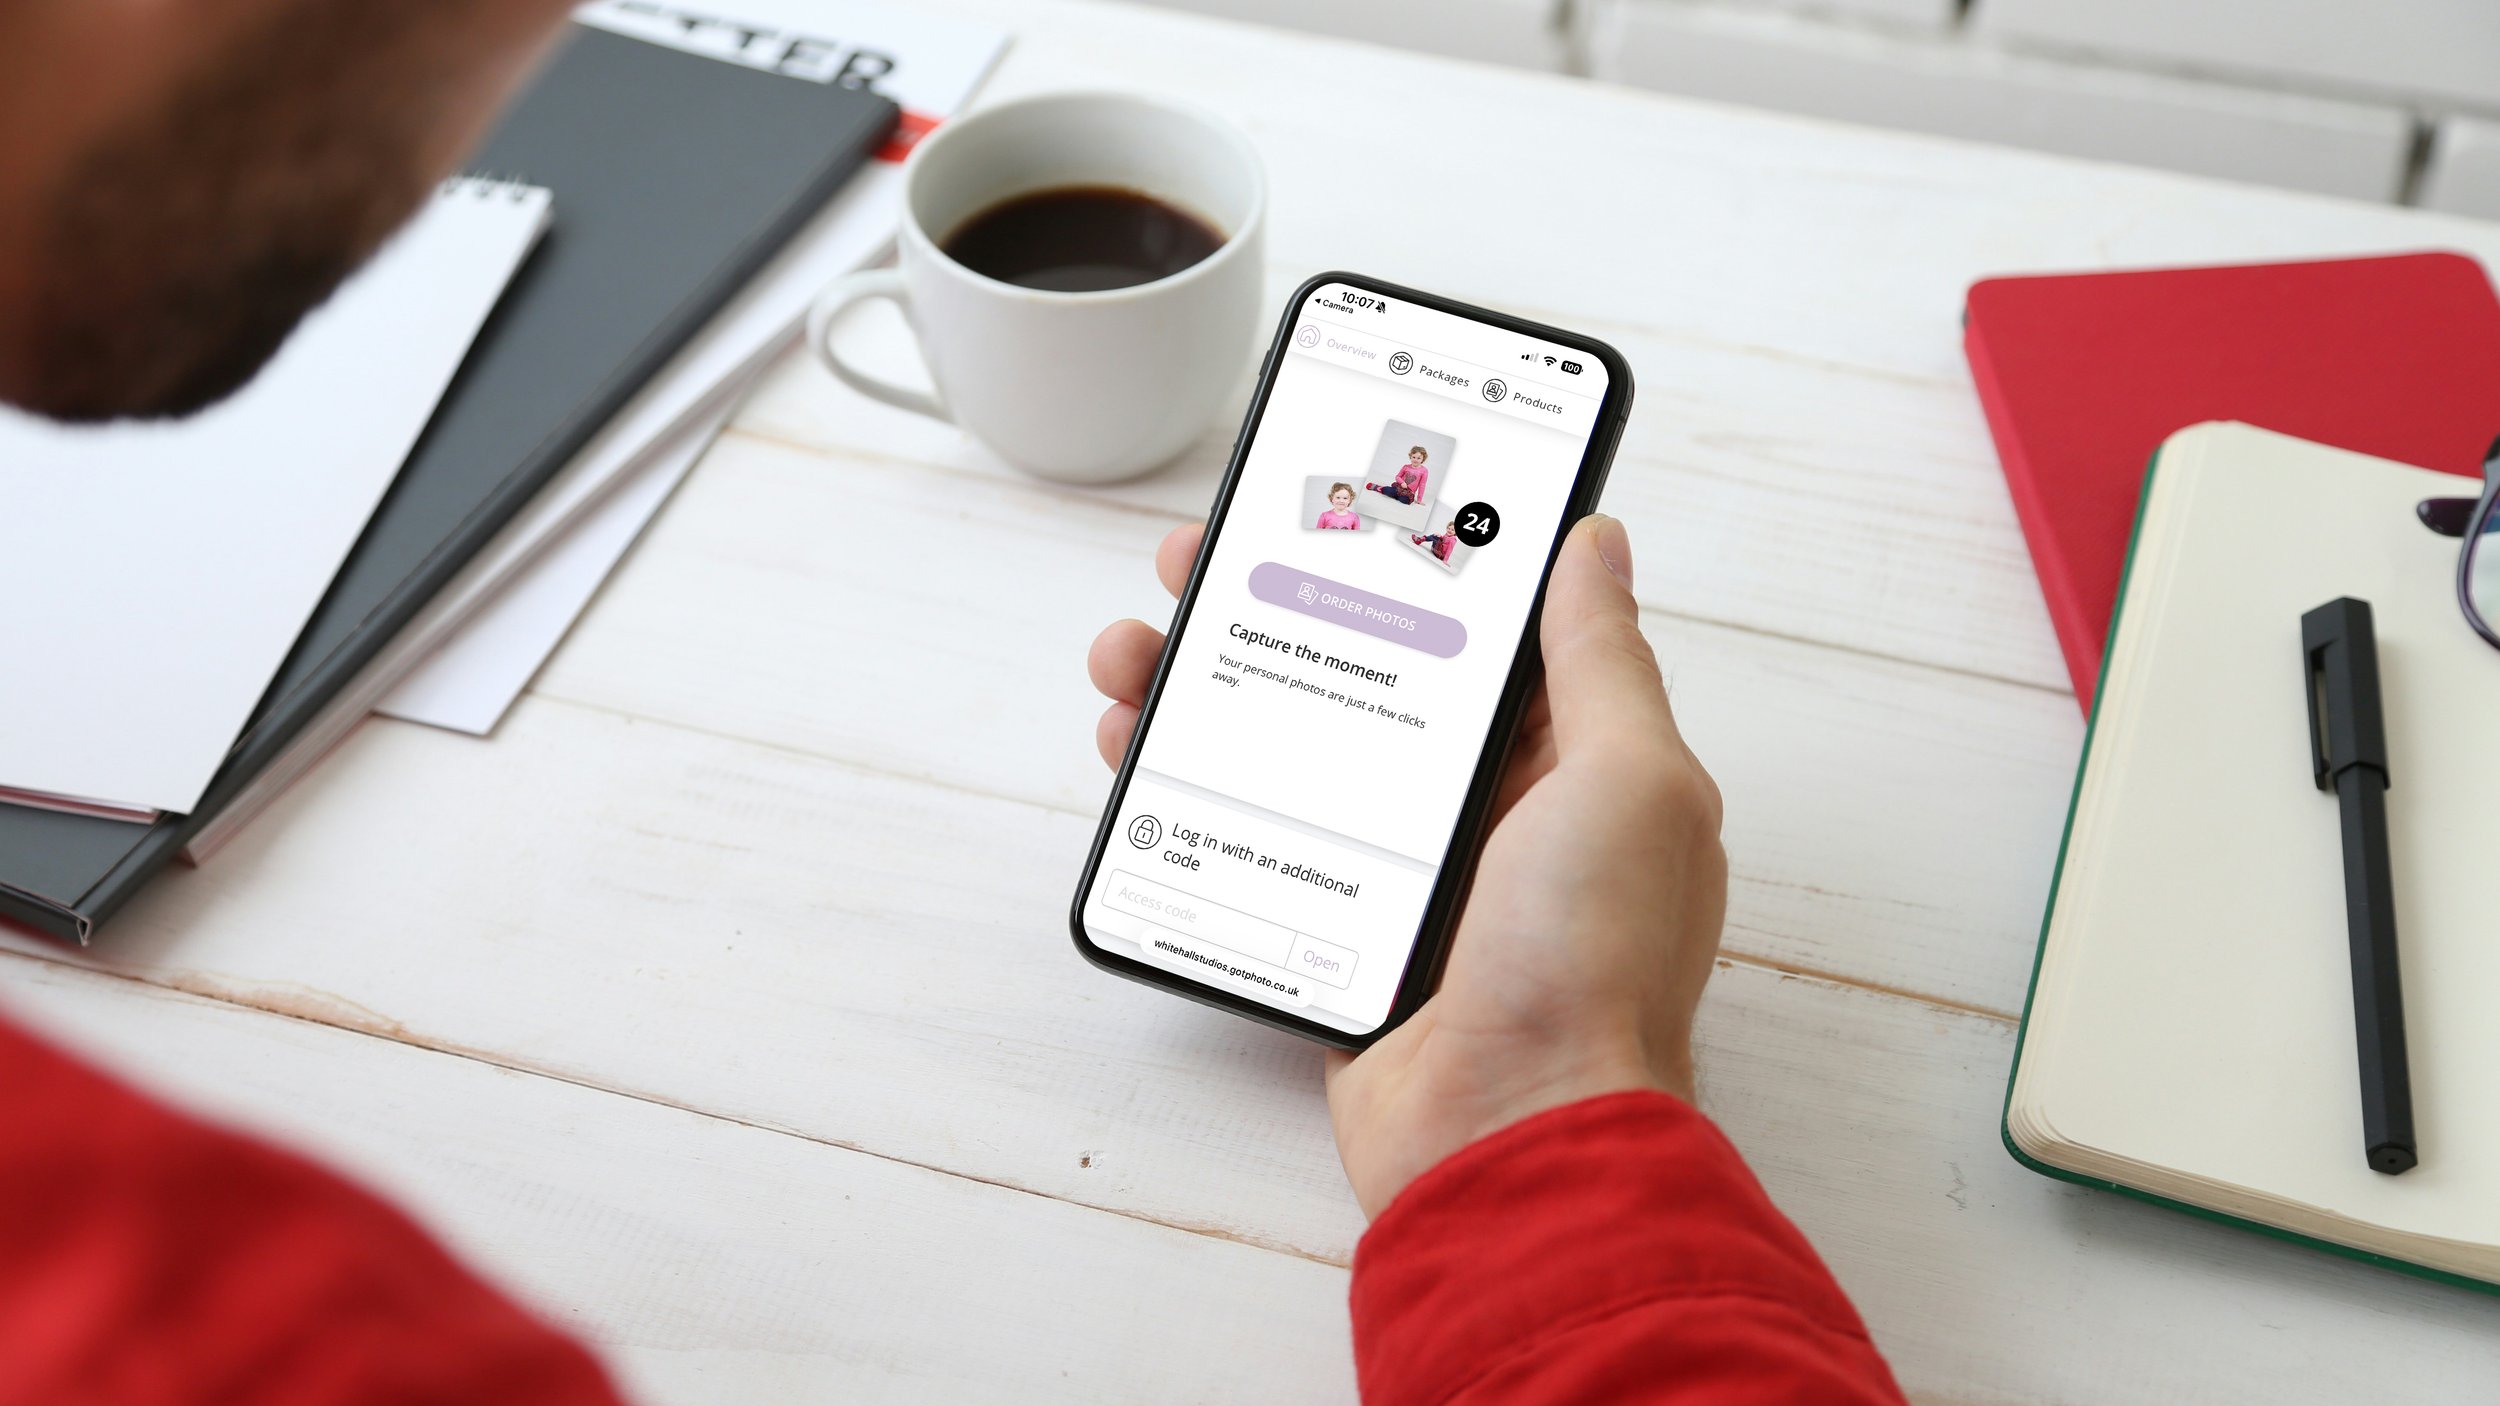
Step 1: Access your gallery
After photo day your child’s school/nursery will send home an A5 card with unique details to access your gallery. This will have a link printed on it, an Access Code, and a QR code. You can scan the QR code to take you to the gallery on your mobile device, or go to whitehallstudios.gotphoto.co.uk to enter your Access Code. Your Access Code is 8 characters long and can be a mix of letters and numbers.
If you have more than one access code (i.e. siblings) you can click ‘Add another code’ on the same screen. Don’t worry if you missed this, you’ll see it on the next page pictured below.
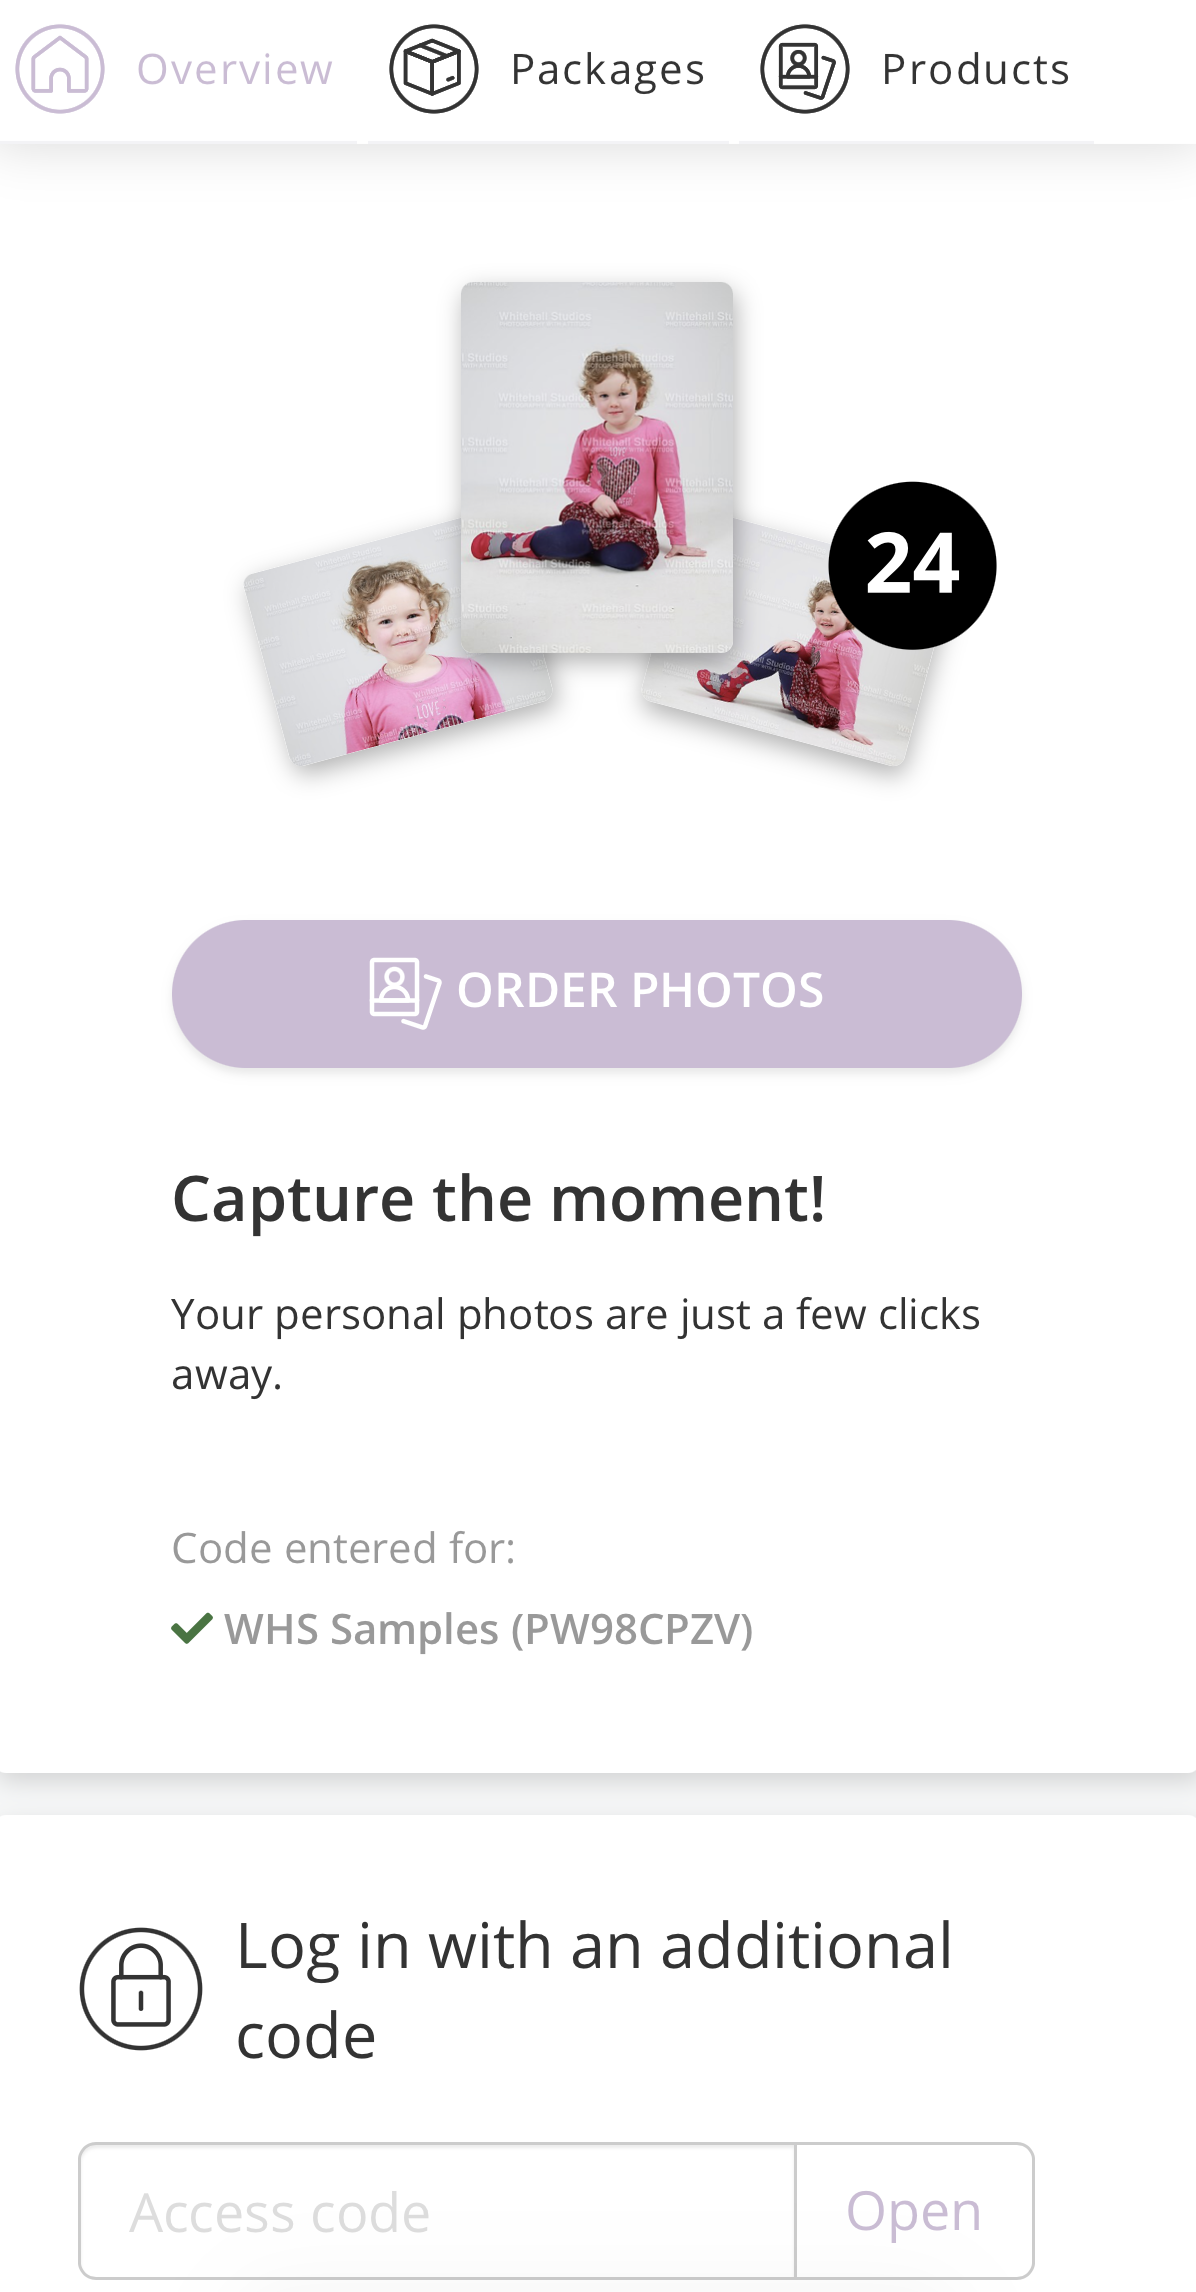
Step 2: Overview Page
From here you can select either ‘Packages’ or ‘Products’ at the top of the page. You can view all your photos under the ‘Products’ section, which is a great place to start.
If you need to add additional codes at this stage, you can do that at the bottom of the Overview page.
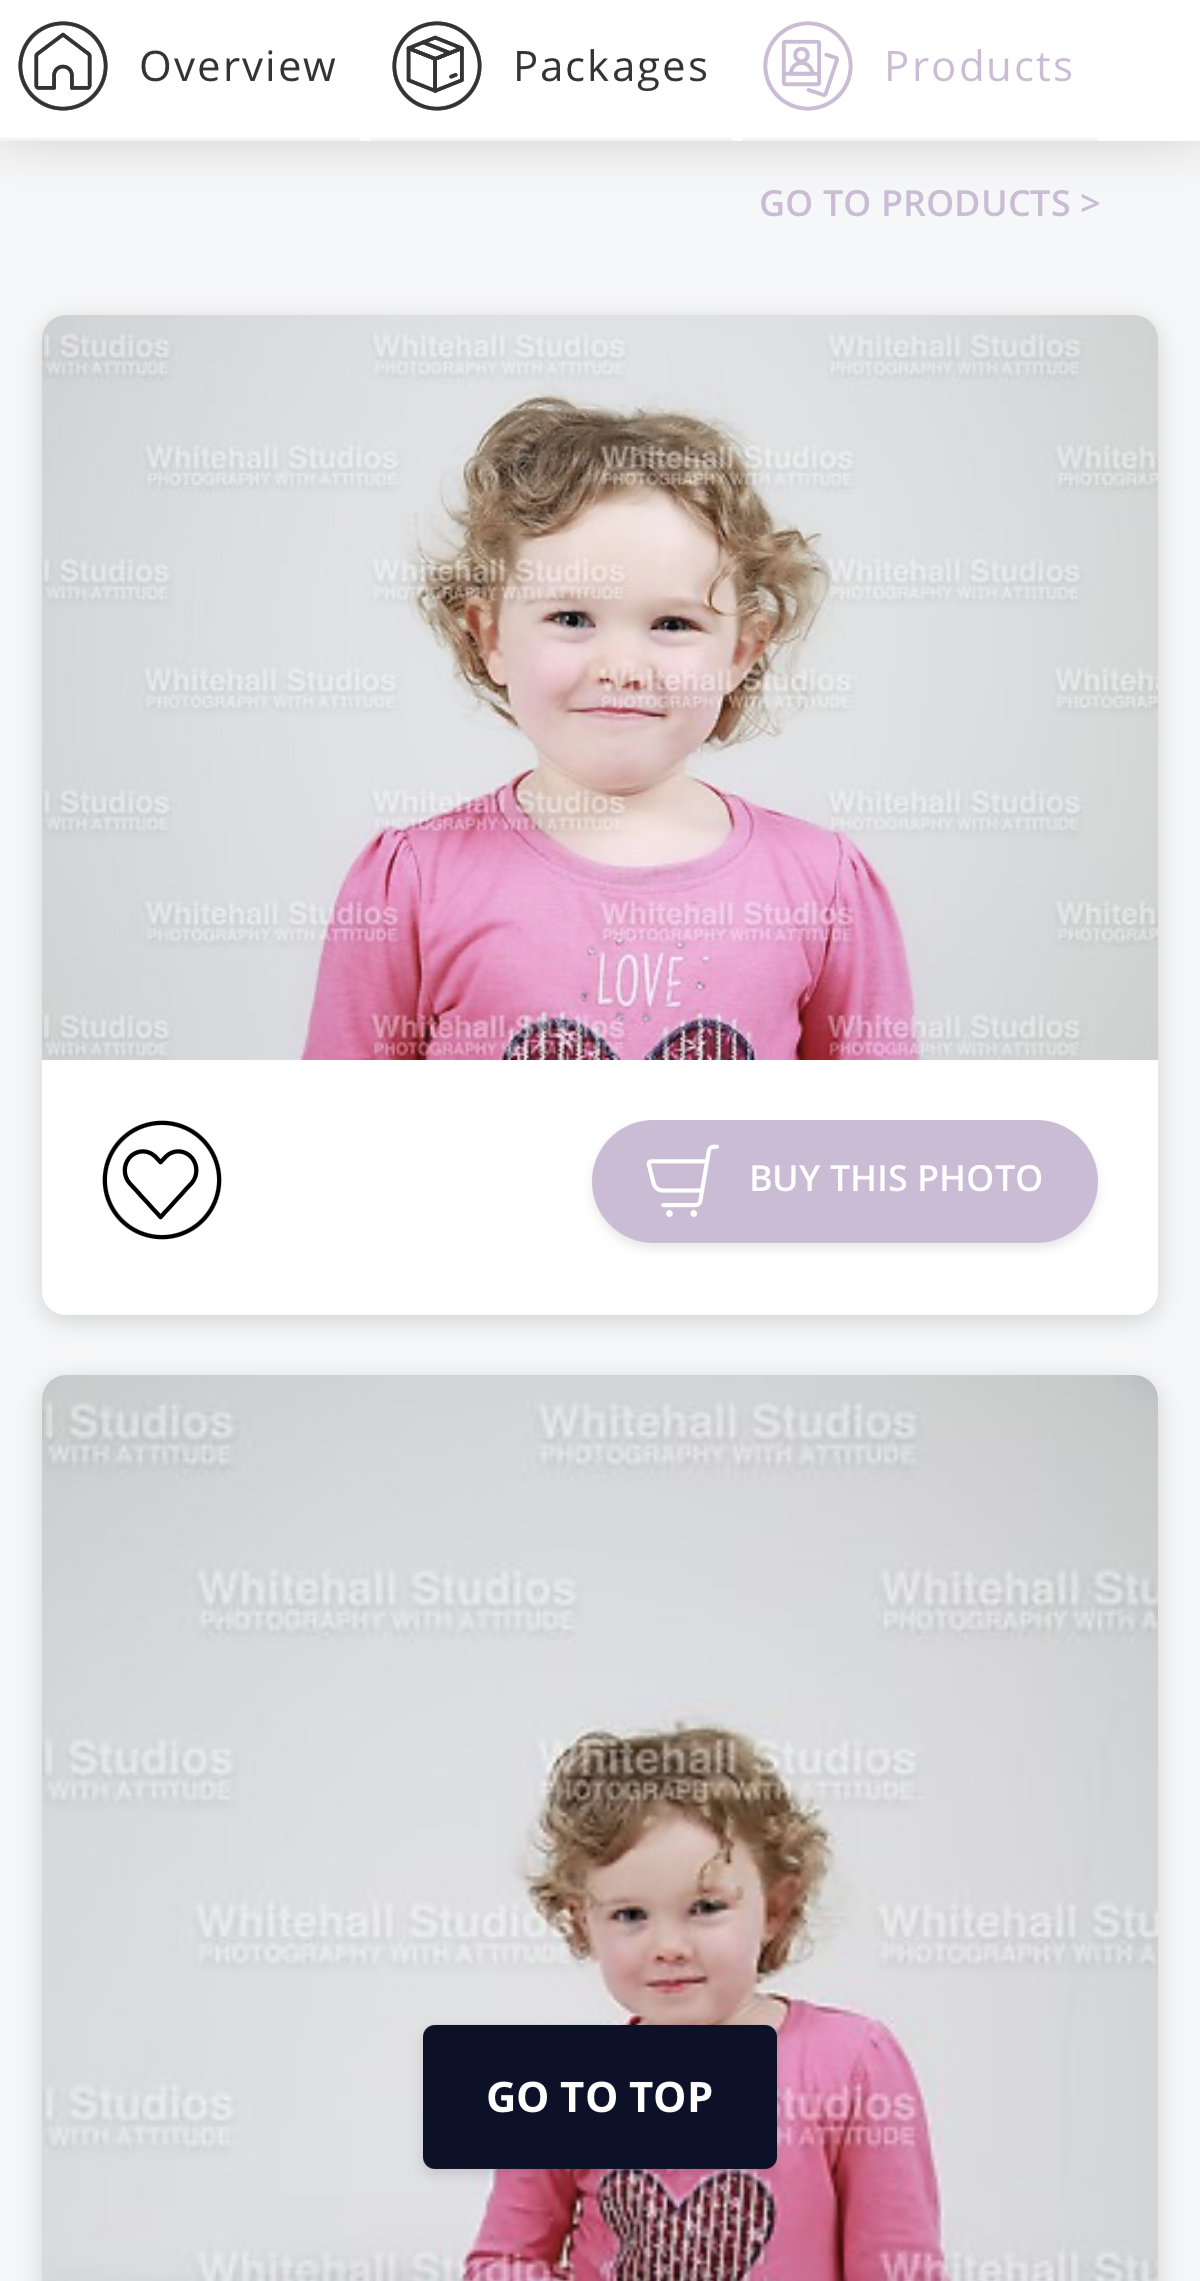
Step 3: Products Page
Scroll through your gallery to see all the photos available to you. This may include group photos. If you just want to order a single print click “Buy this photo” on your chosen image.
Step 4: Ordering Single Products
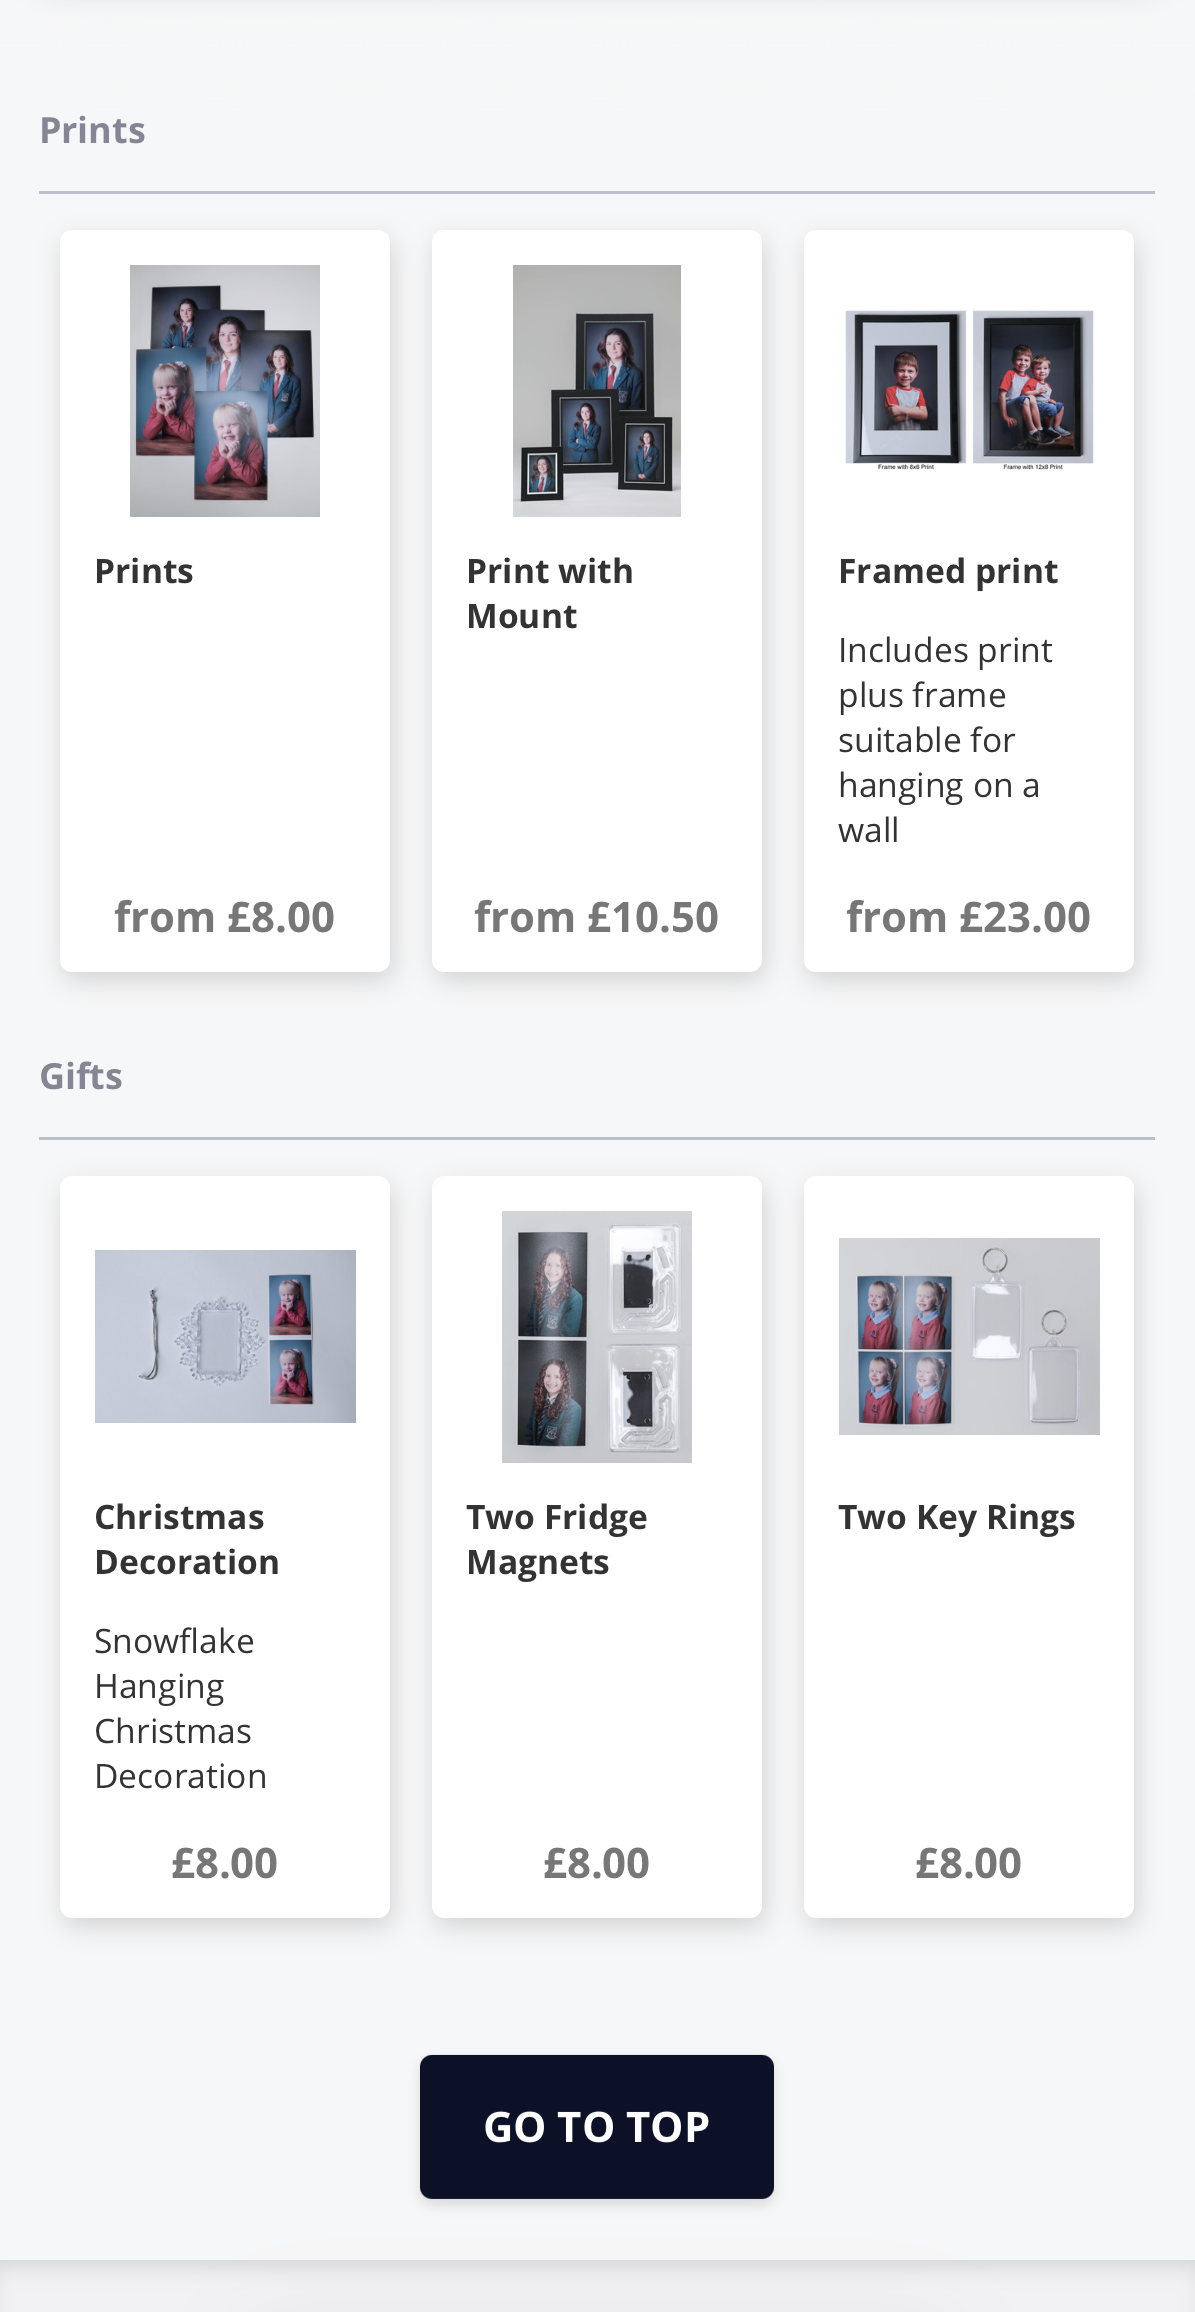
There are 3 options for prints:
Print Only - various sizes available for any photo except Group Photos which can only be 12×8”
Print with Mount - prints are provided with a card mount
Framed Print - available for 8×6” and 12×8”
Gift items are also available - Christmas decoration, keyrings, and fridge magnets.
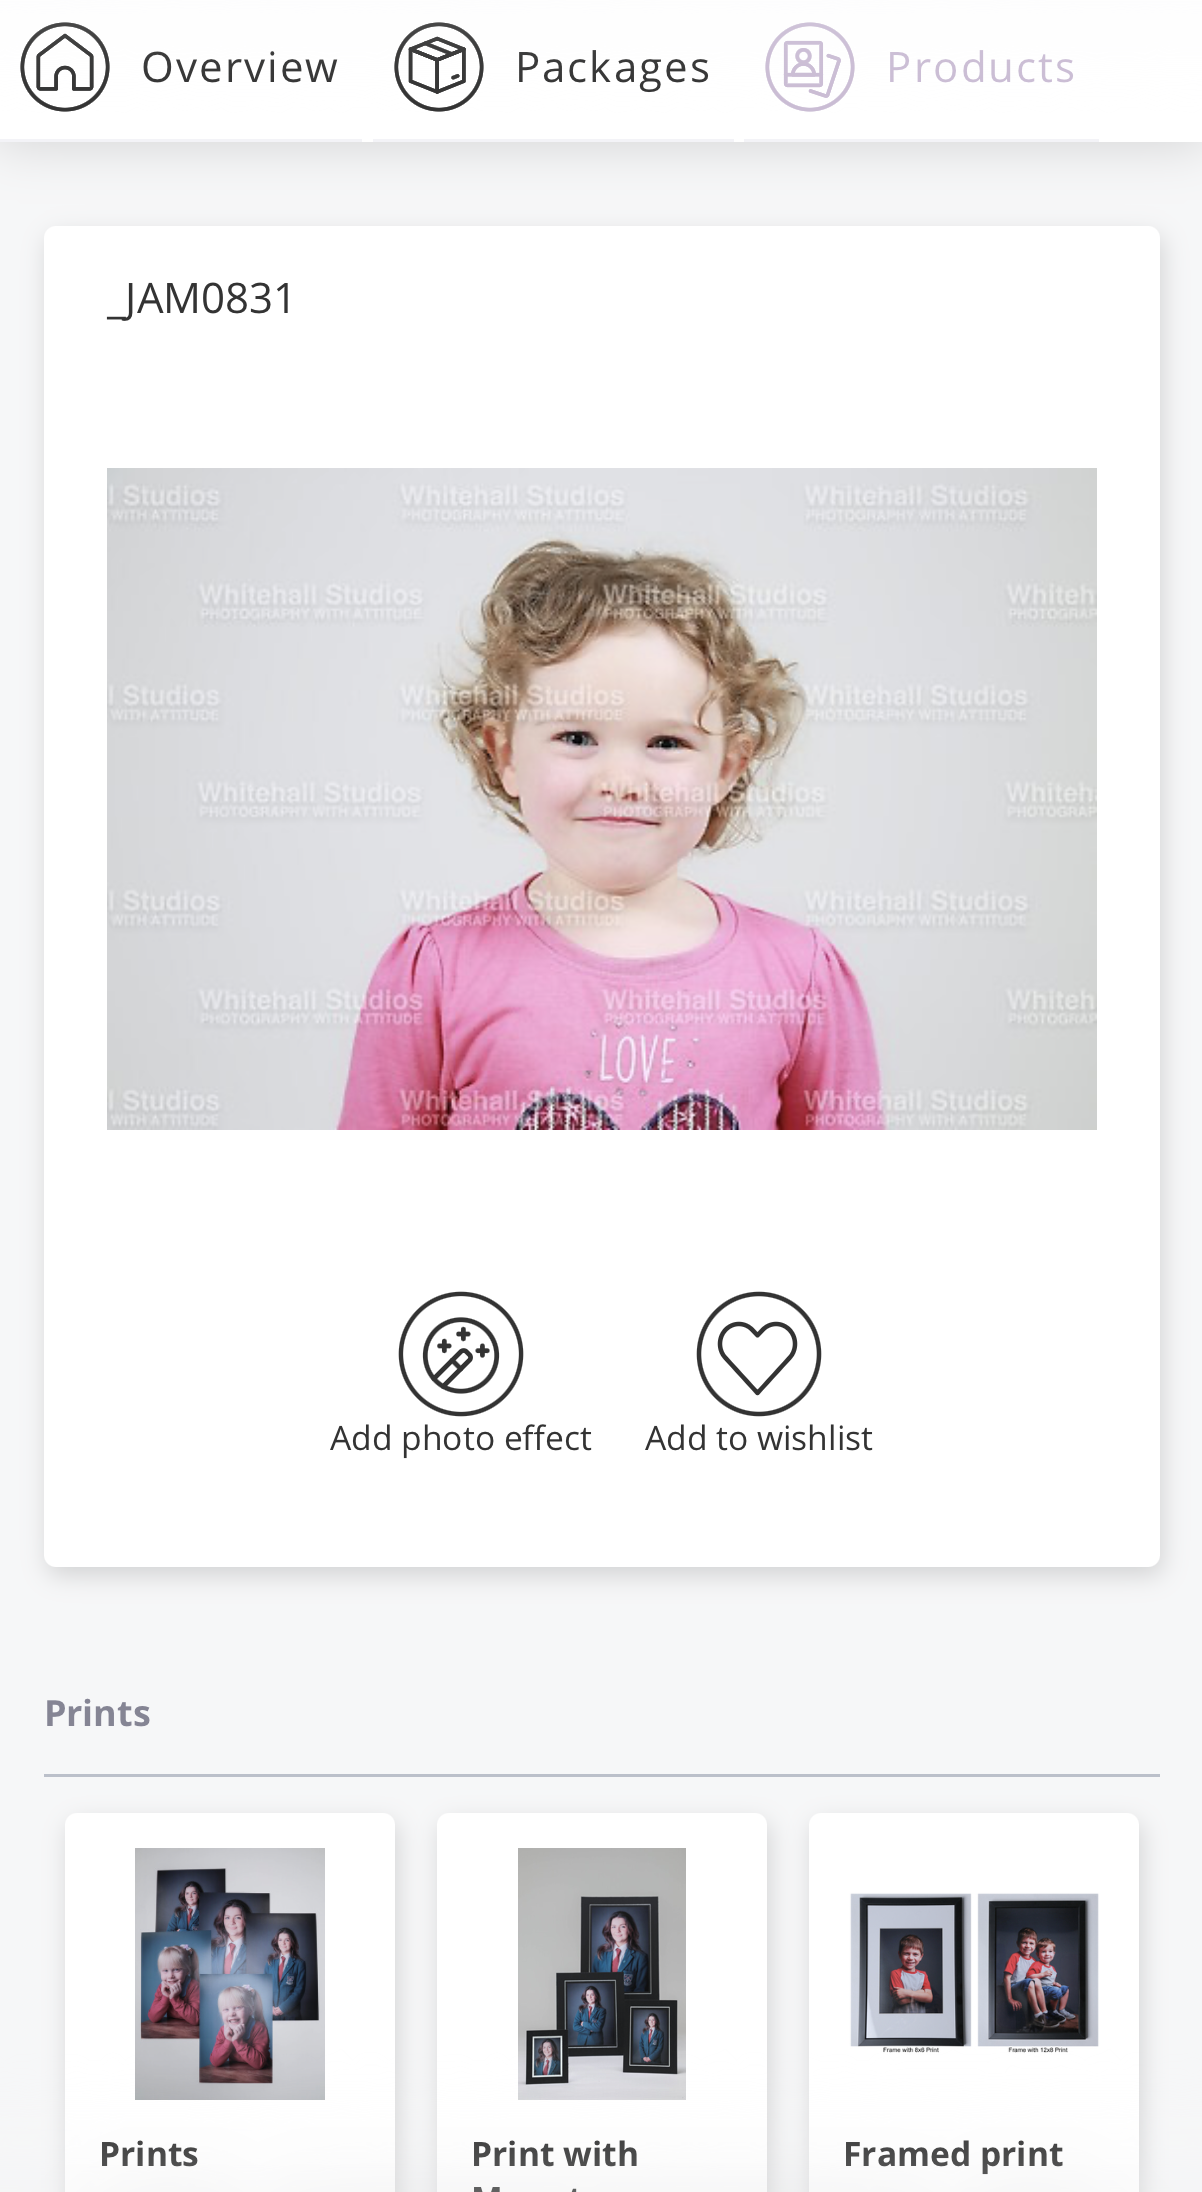
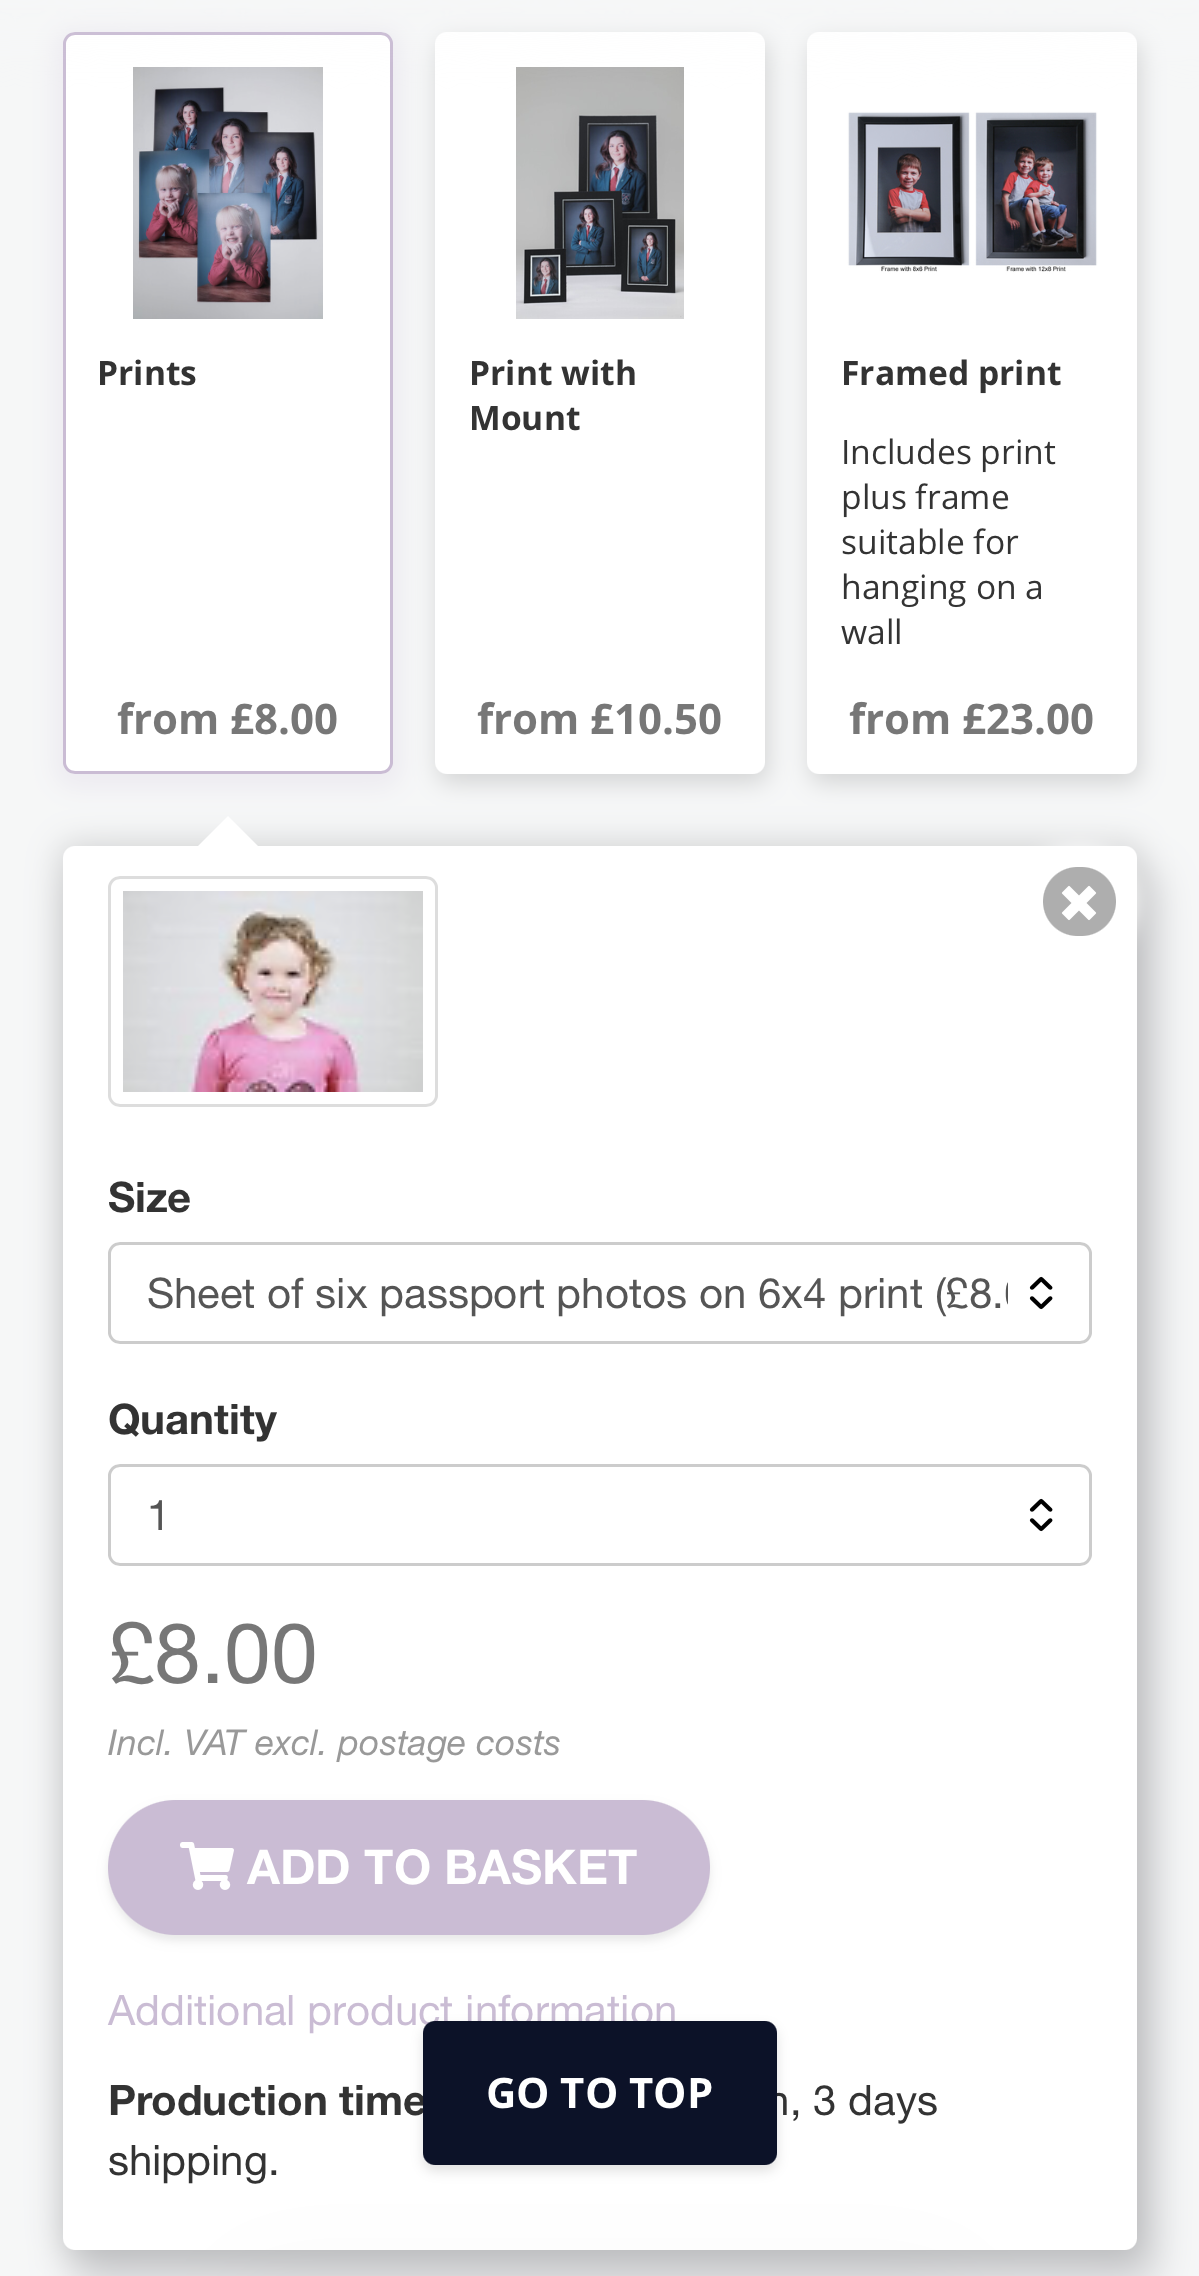
The large image is your chosen photo for ordering a single print of - if this is not the one you want, you can change it by swiping the image left or right, or by going back into the gallery.
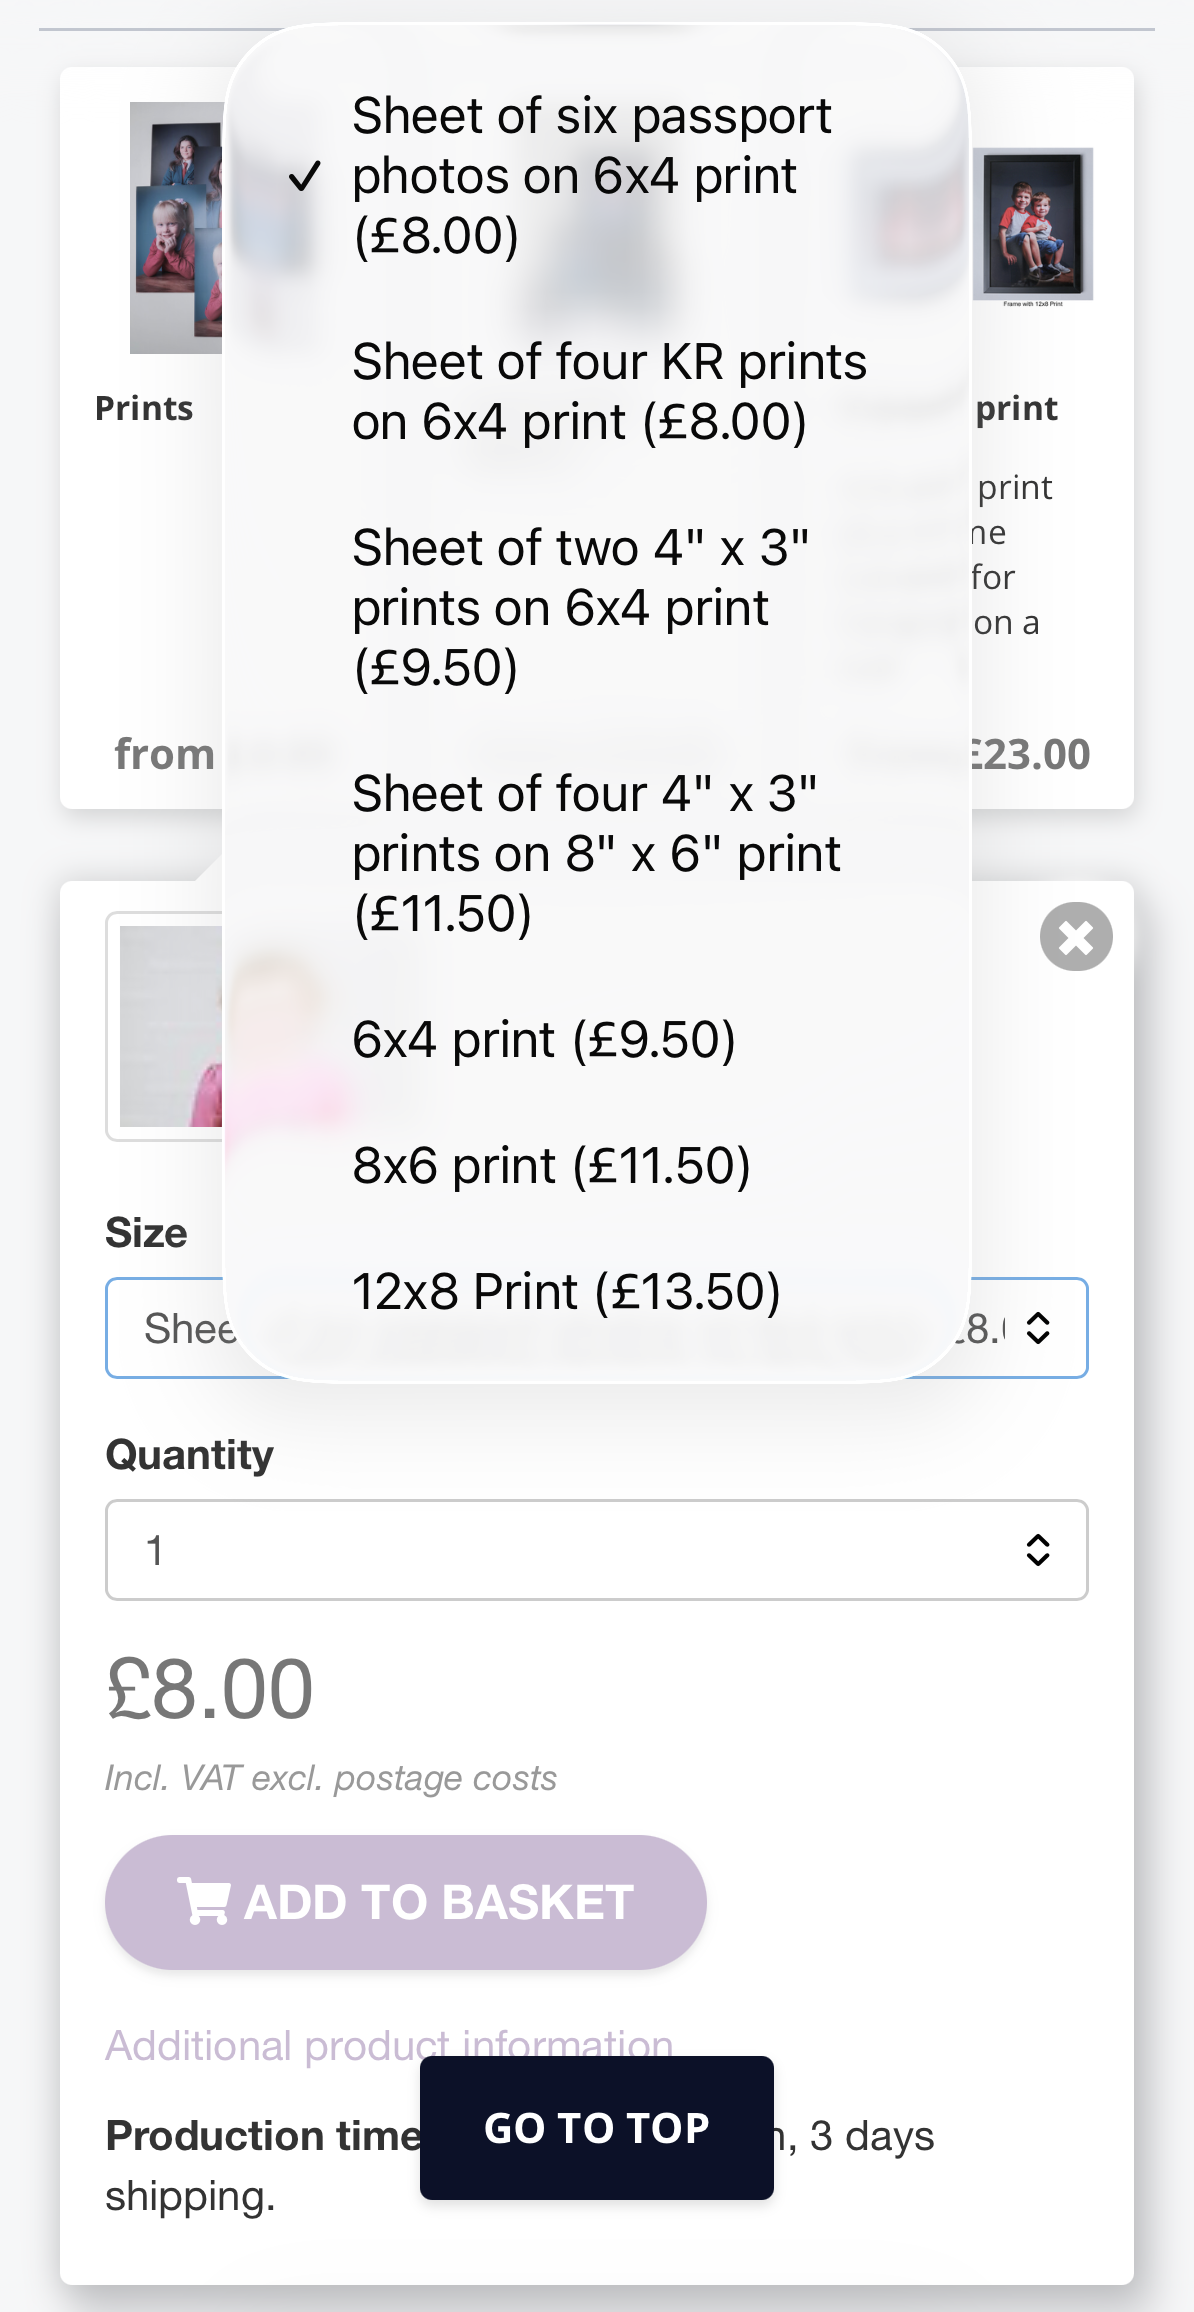
Select your preferred print size from the dropdown menu and click ‘Add to Basket’.
Top tip: 8×6” and 4×3” prints will crop the image, so ensure you check you are happy with the crop in the basket before checking out.
Step 5: Packages Section
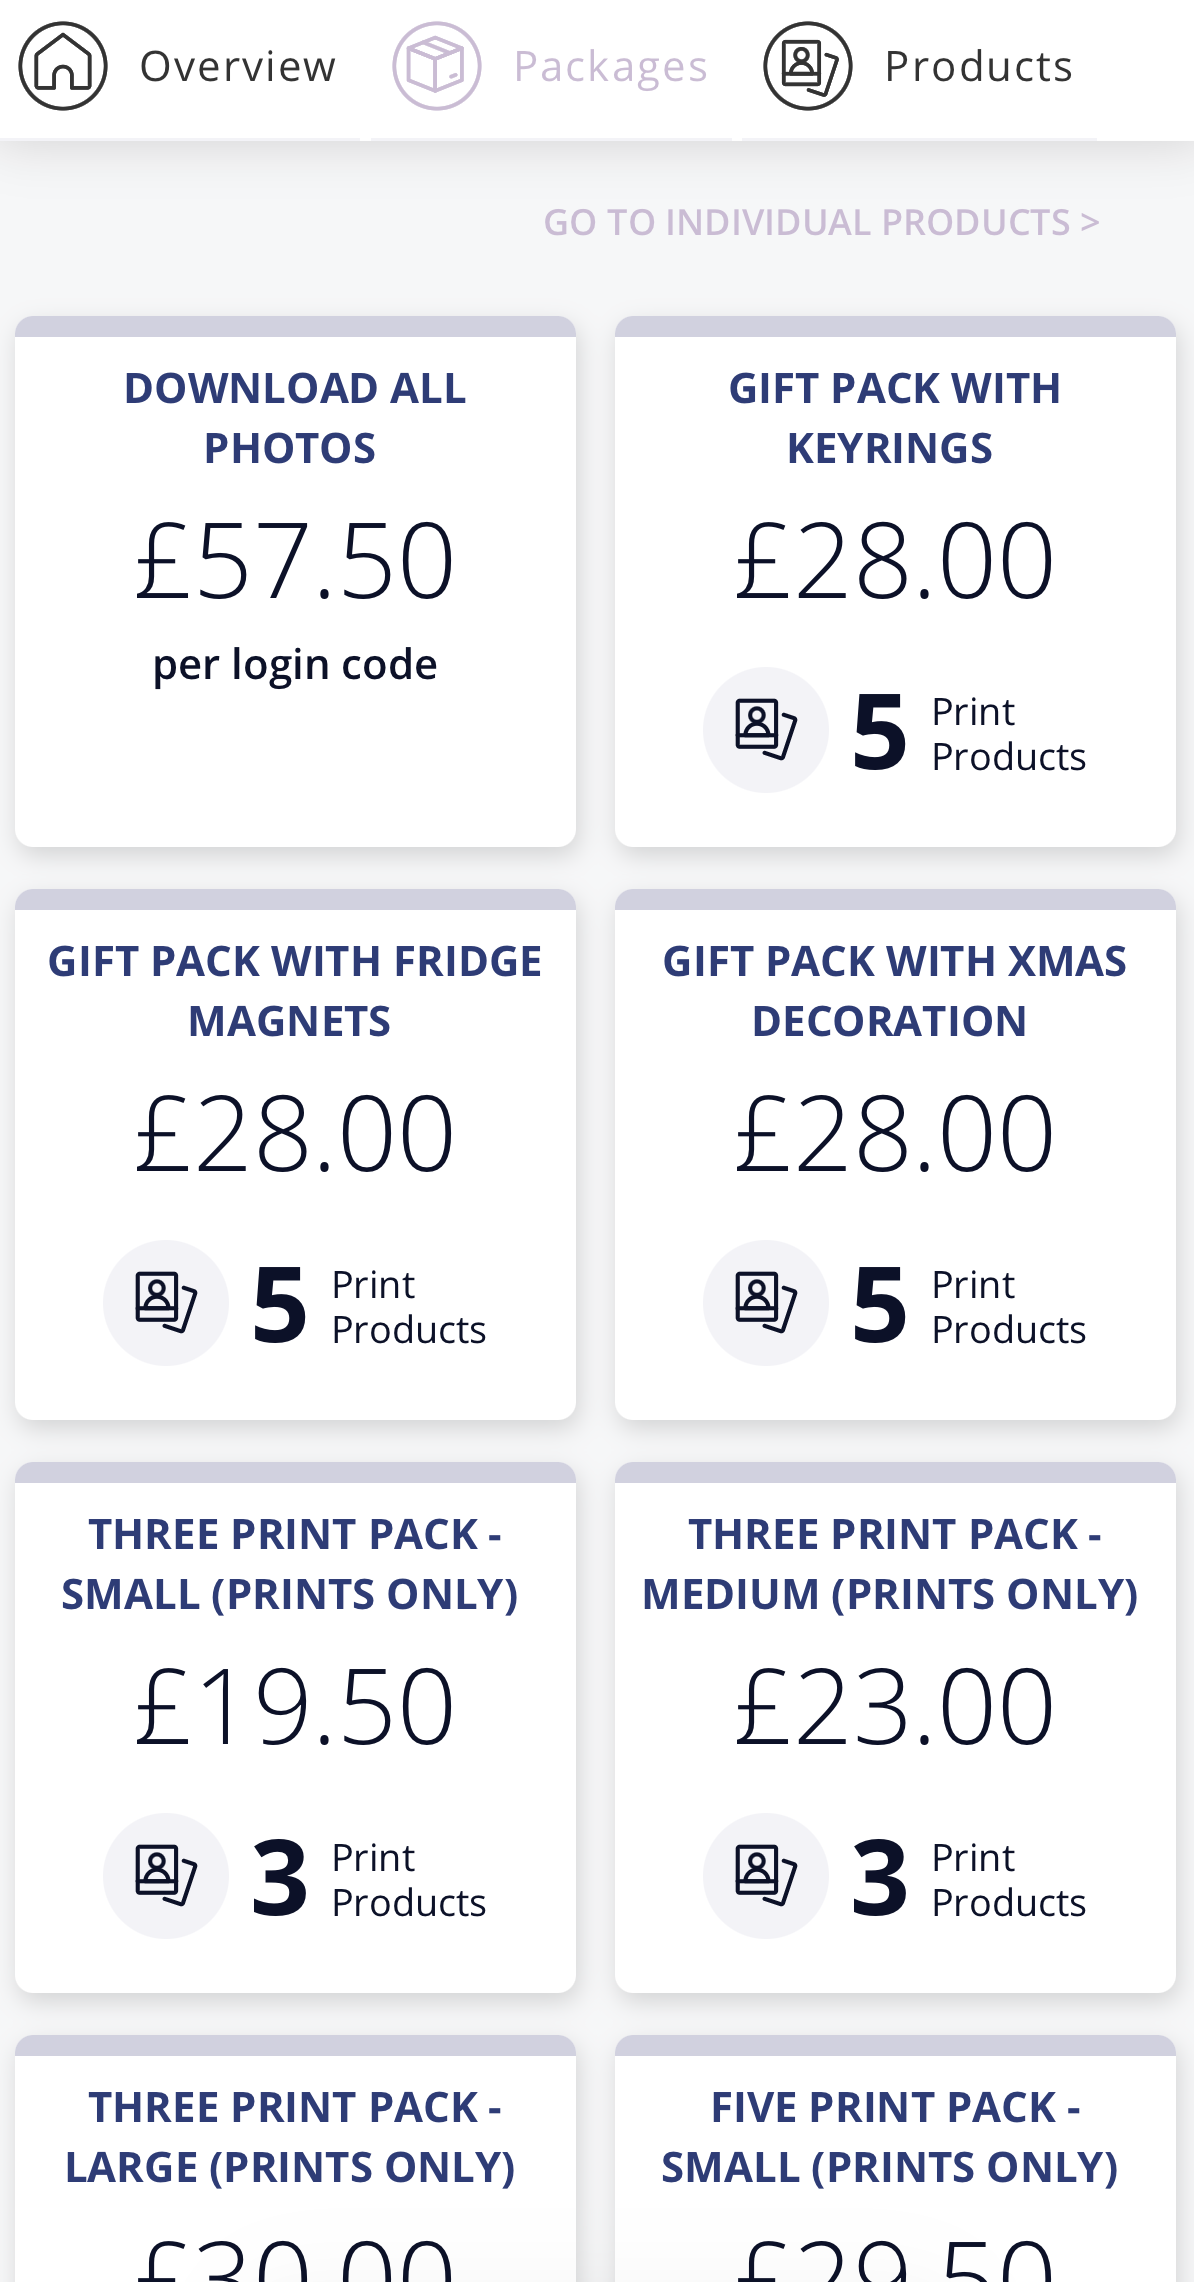
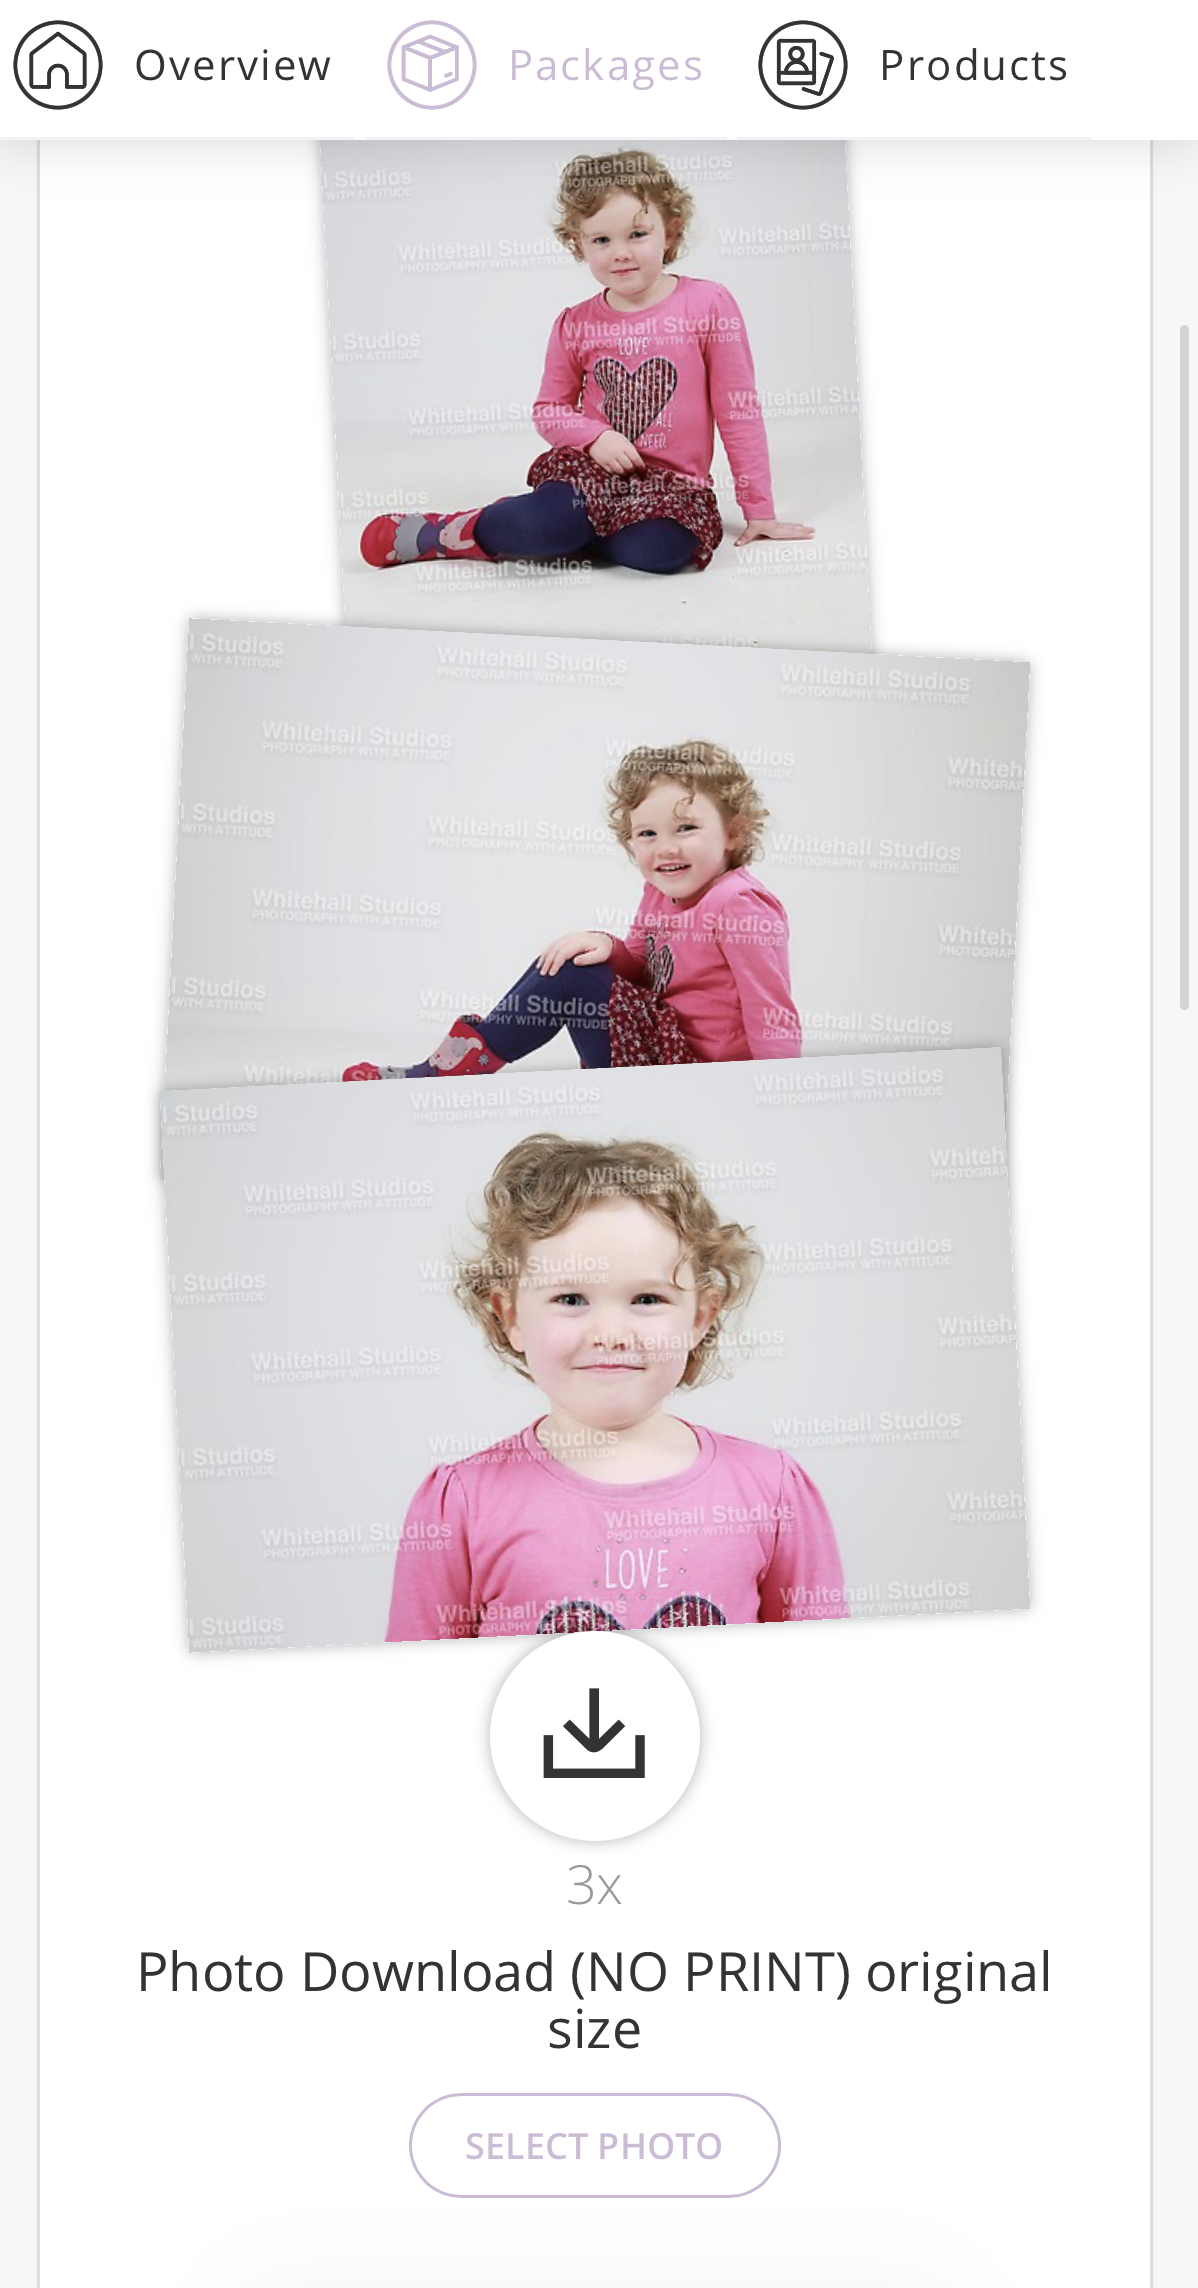
For the best prices and deals on 3 or more prints or gift packs click on the ‘Packages’ section at the top of the page. This lists all our package options with our popular Gift Pack options at the top (these are the same as the pre-printed packs many preschools and nurseries would have received from us previously). After this are single-size multi packs, then mixed-size packs, and finally digital packs.
Top tip: Download packs are digital only - no prints are included unless otherwise ordered or added on.
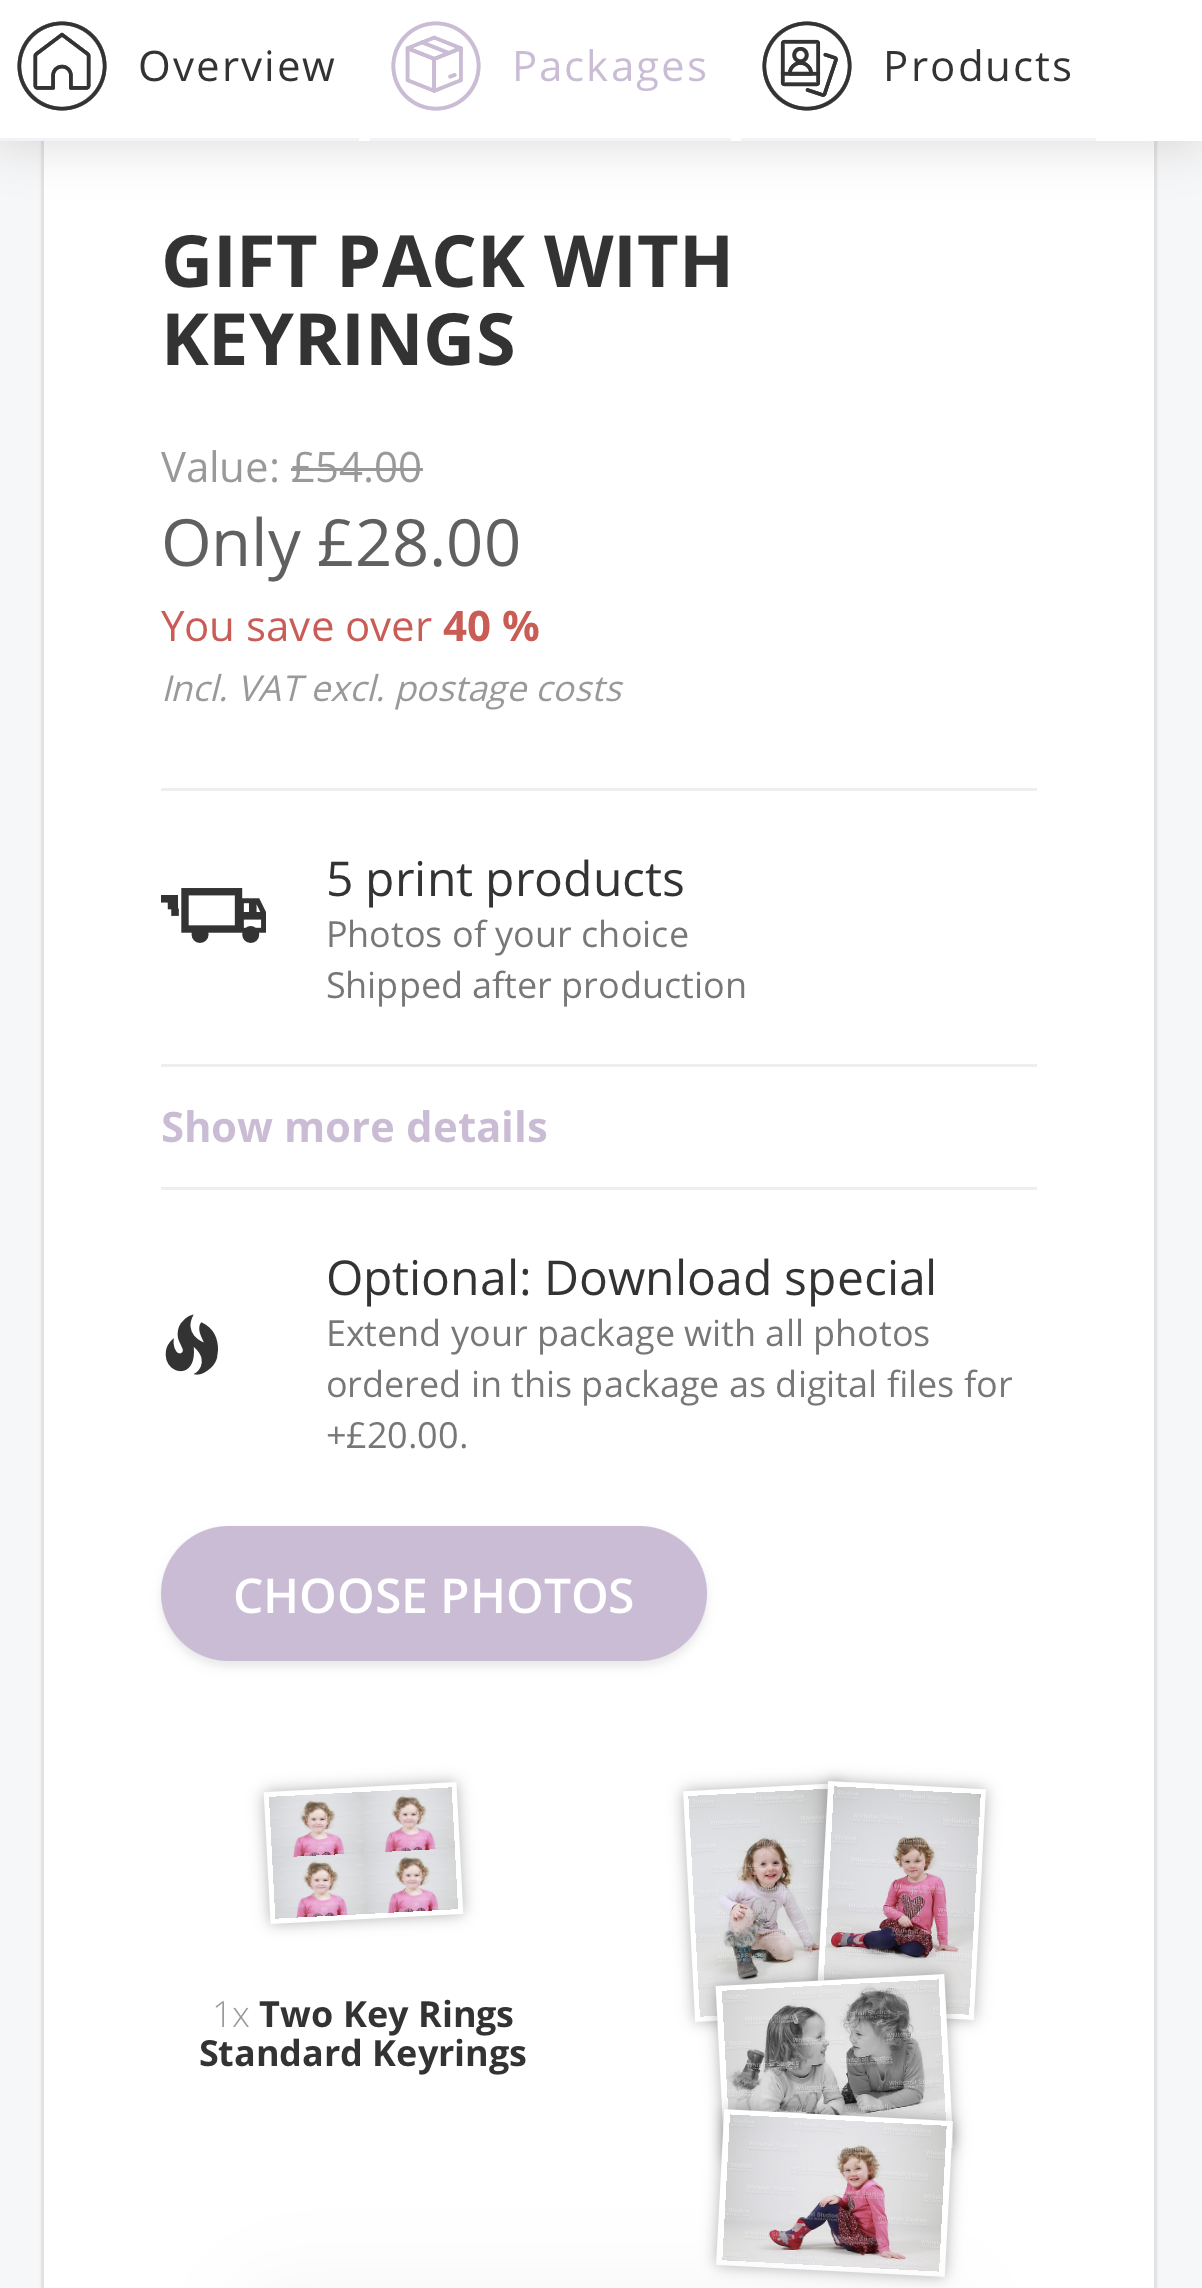
Step 6: Choosing images for your package
Choose your package and click ‘Choose Photos’.
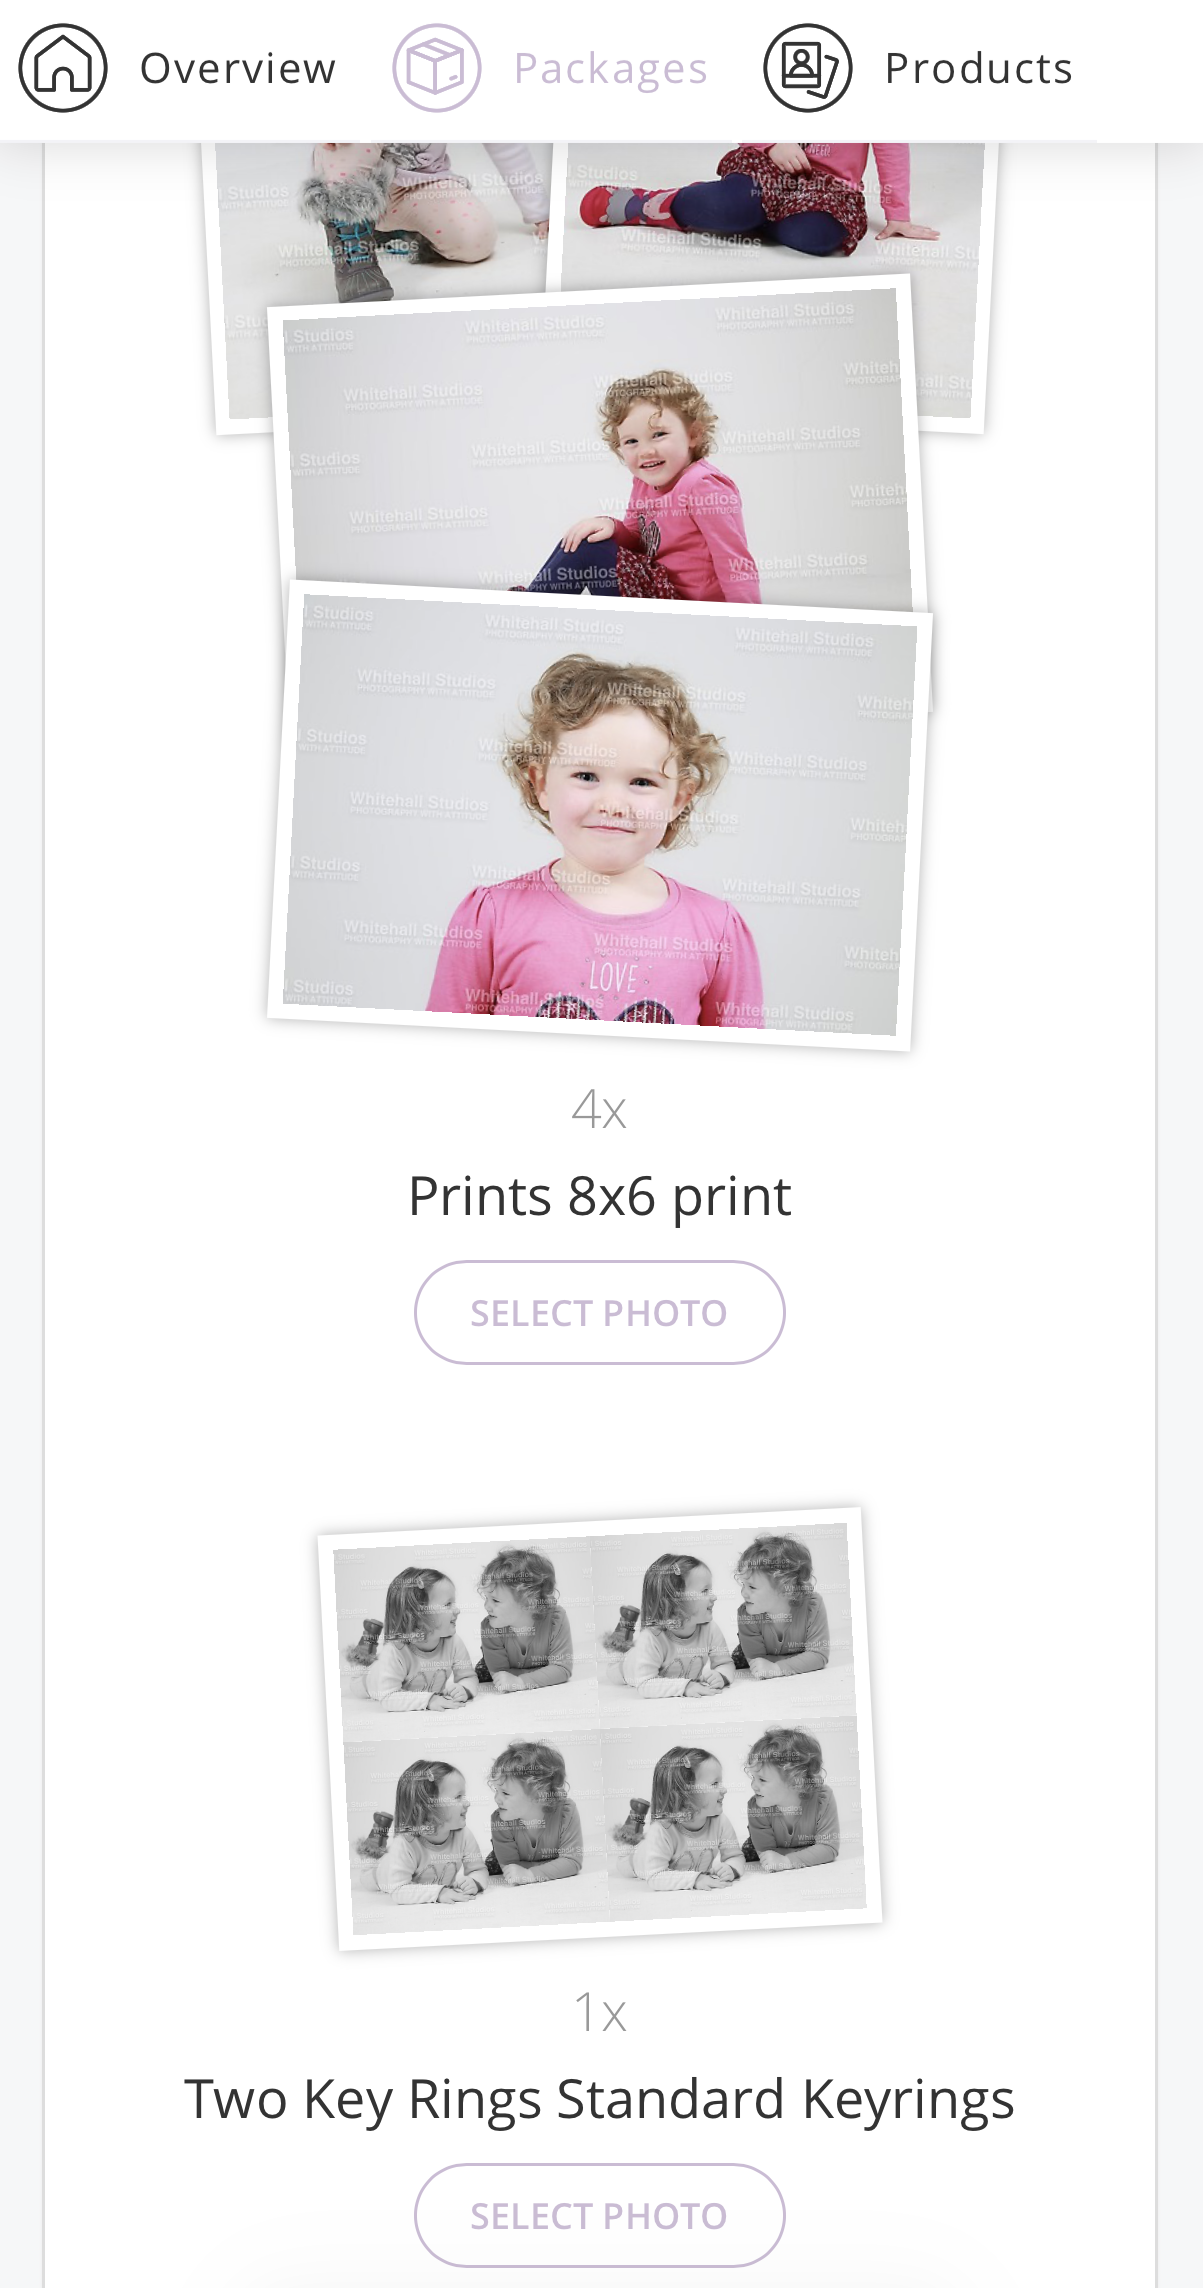
For each print type click ‘Select Photo’.
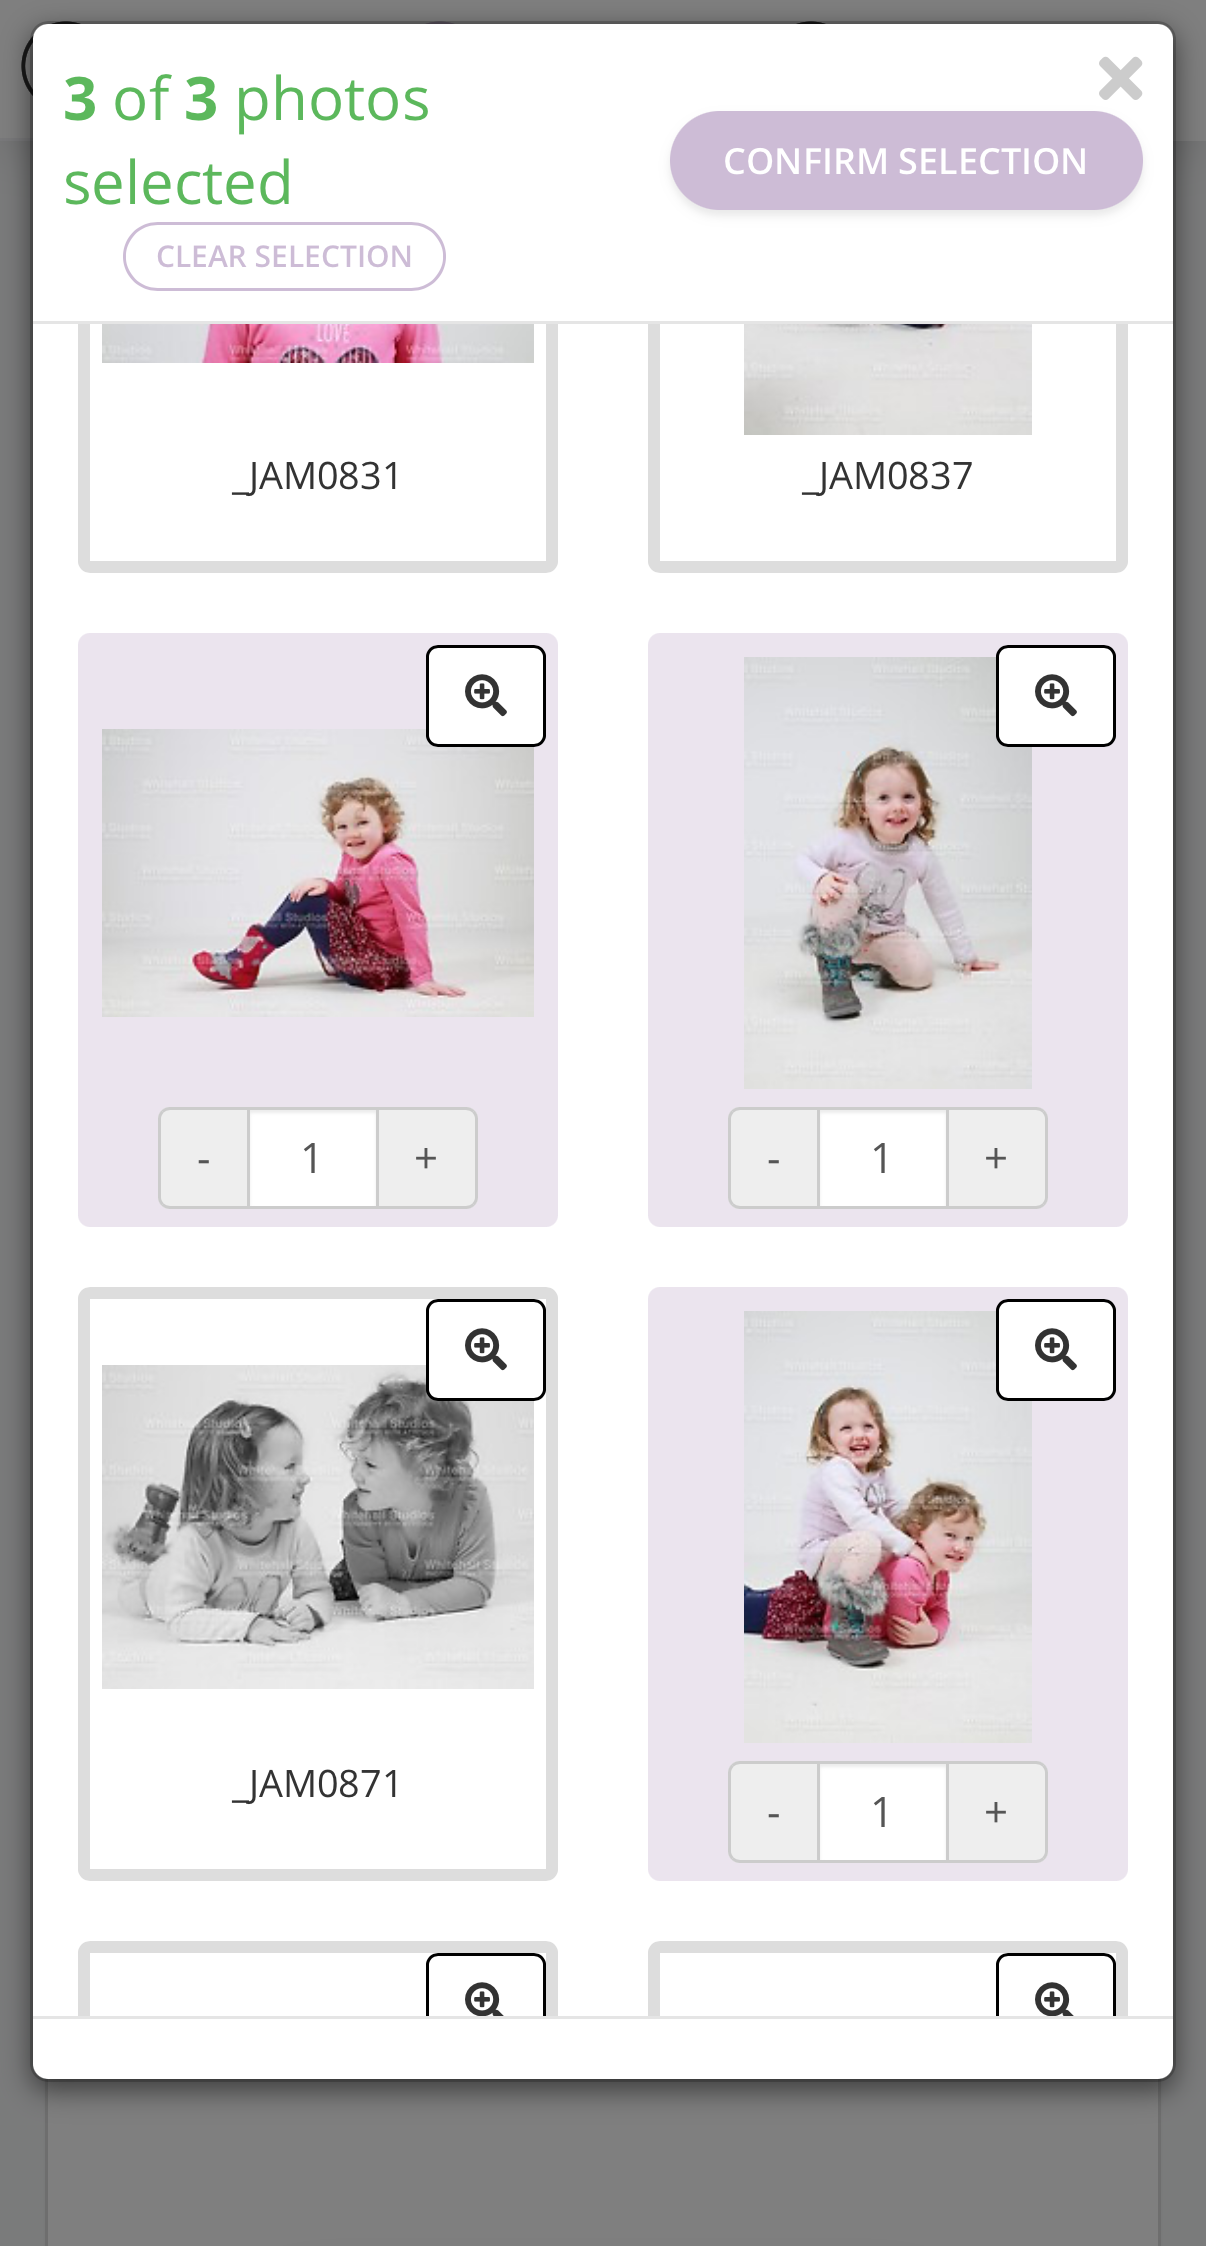
Select a pose for each print - you can select multiples of one image if you wish. Hit ‘Confirm Selection’.
Repeat this for any other print types in your package.
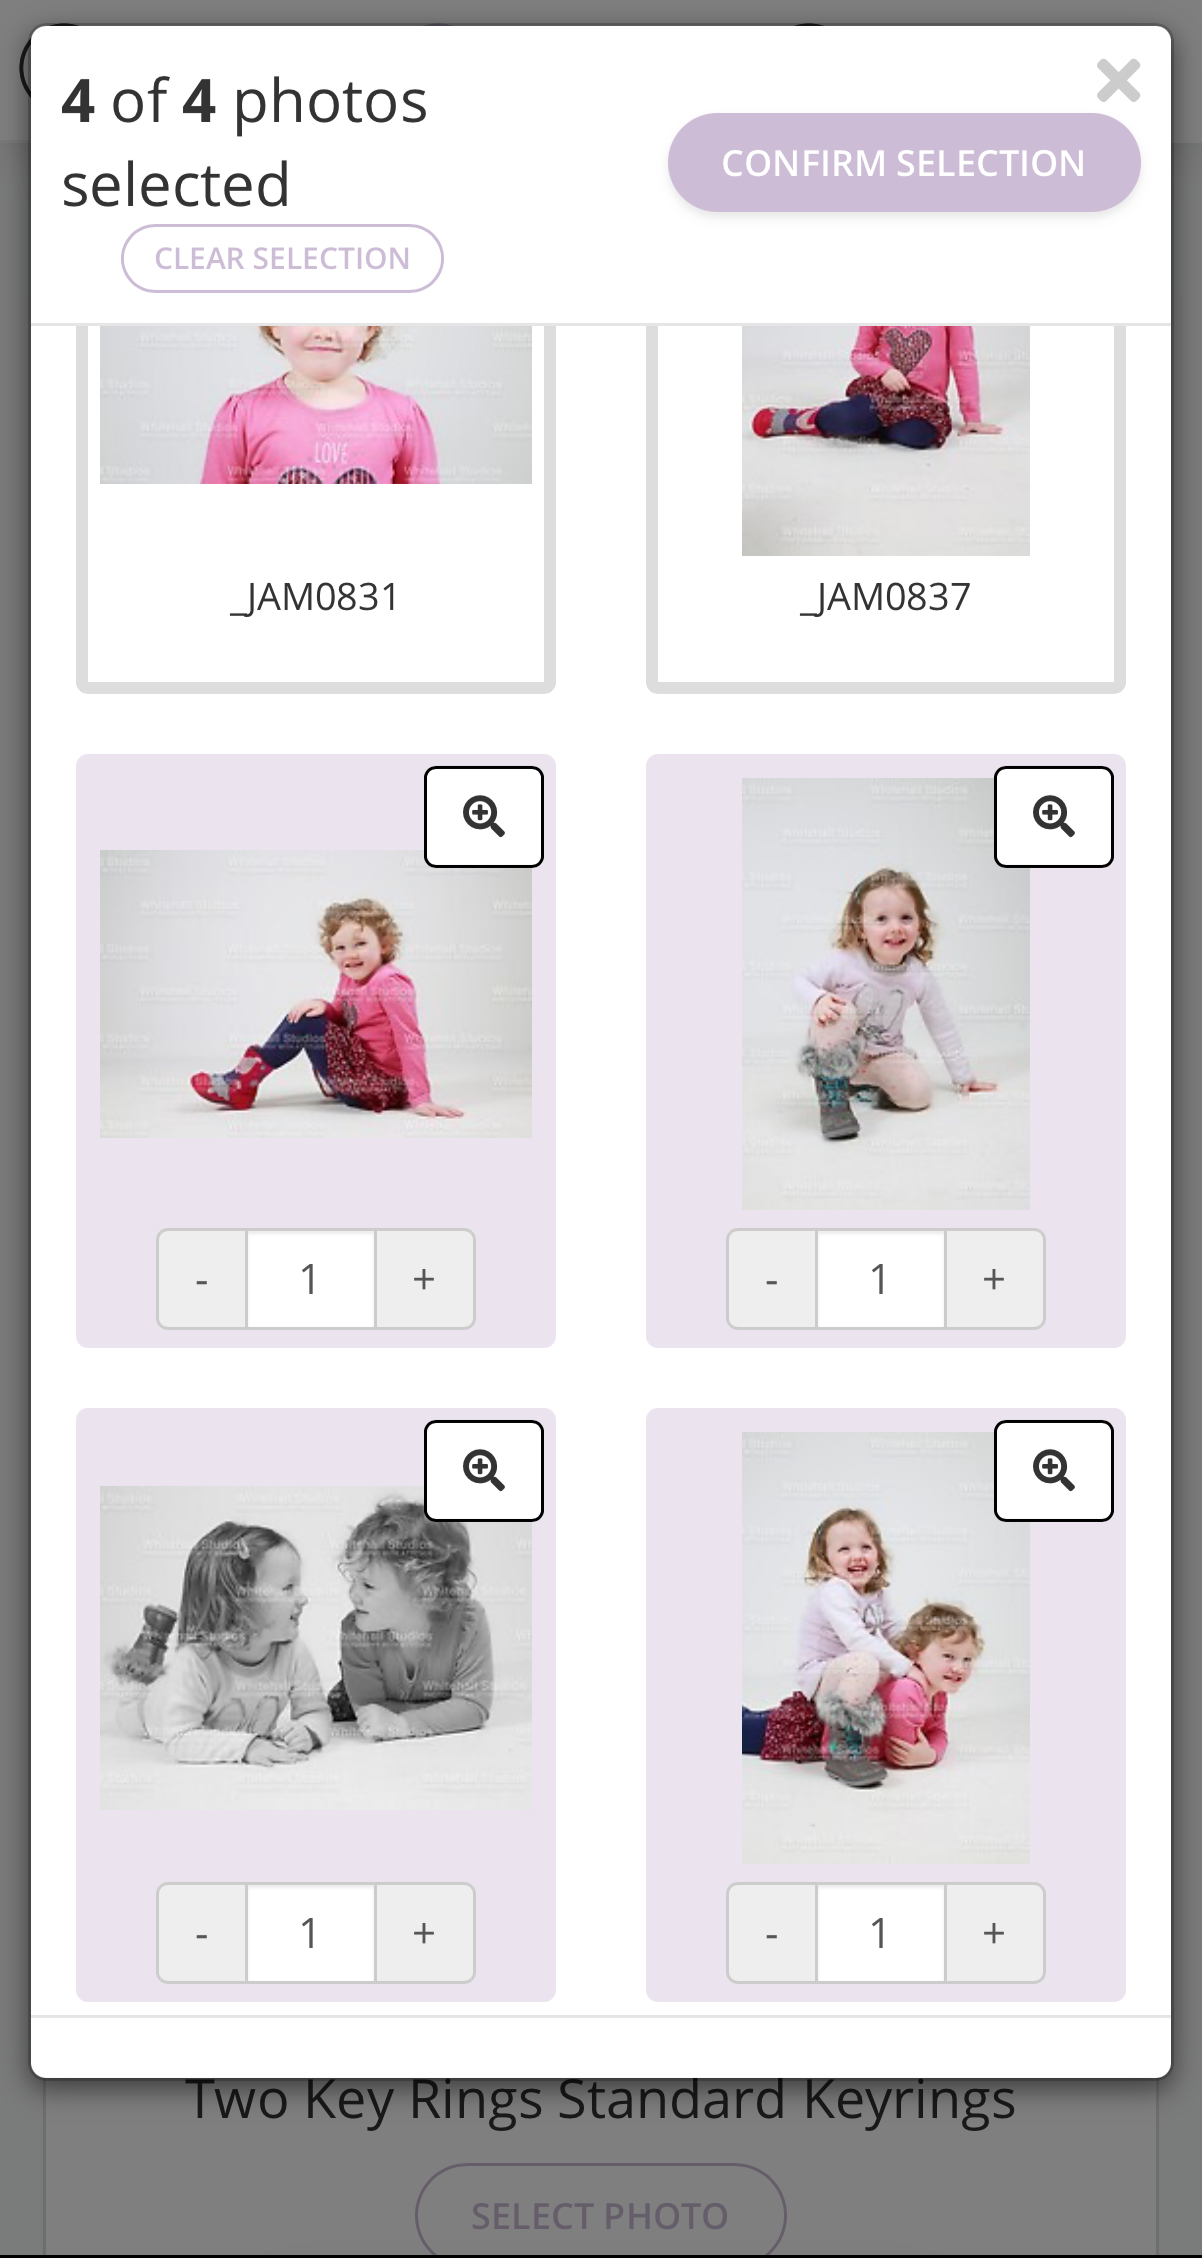
When you are happy with your selection for all prints, select if you would like to add digitals at a special price or not, and add your package to the basket.
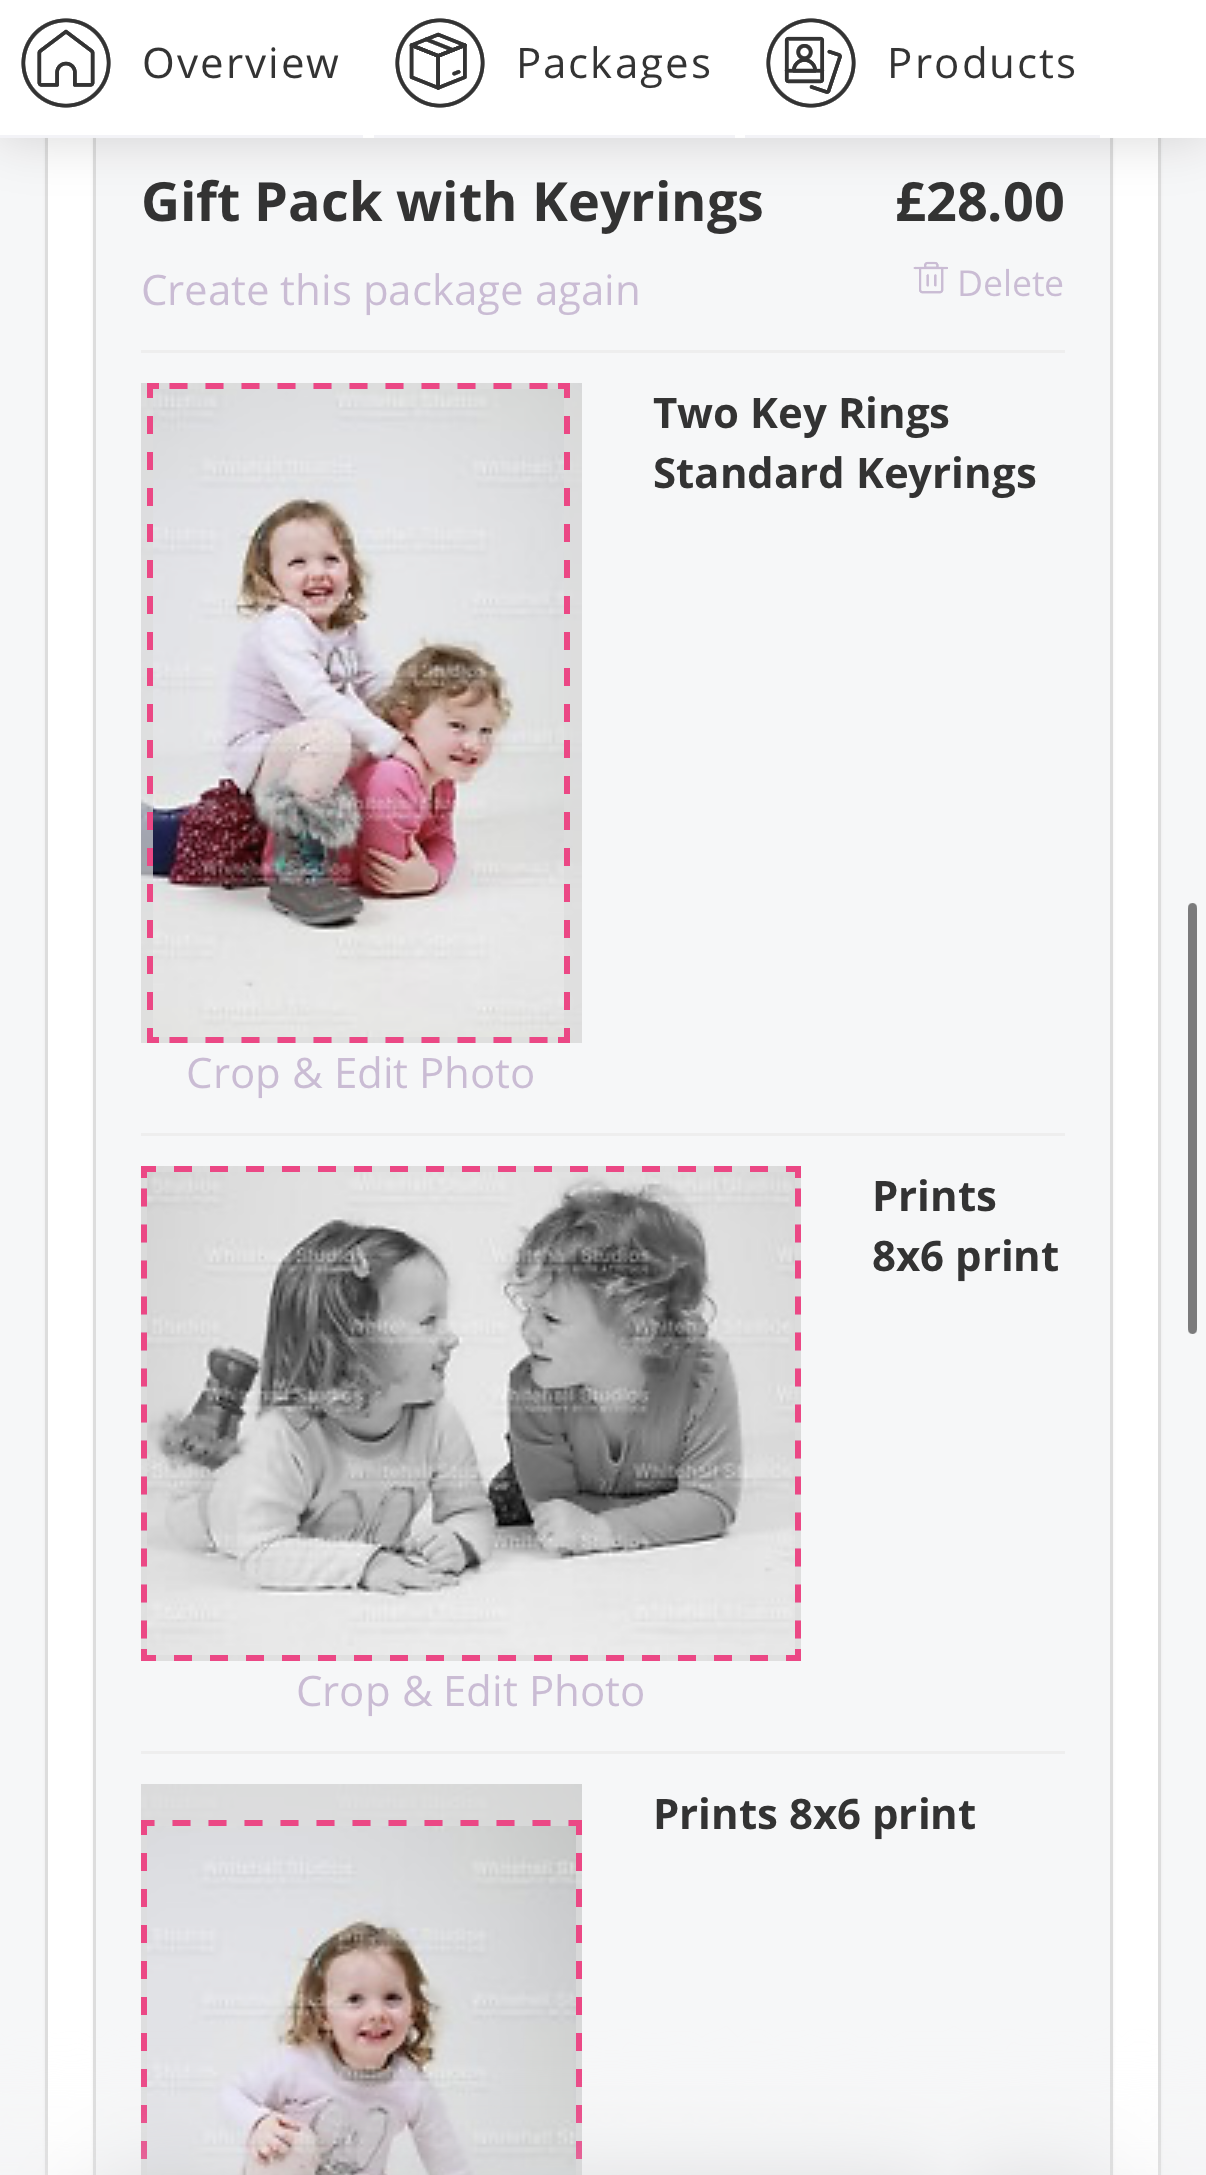
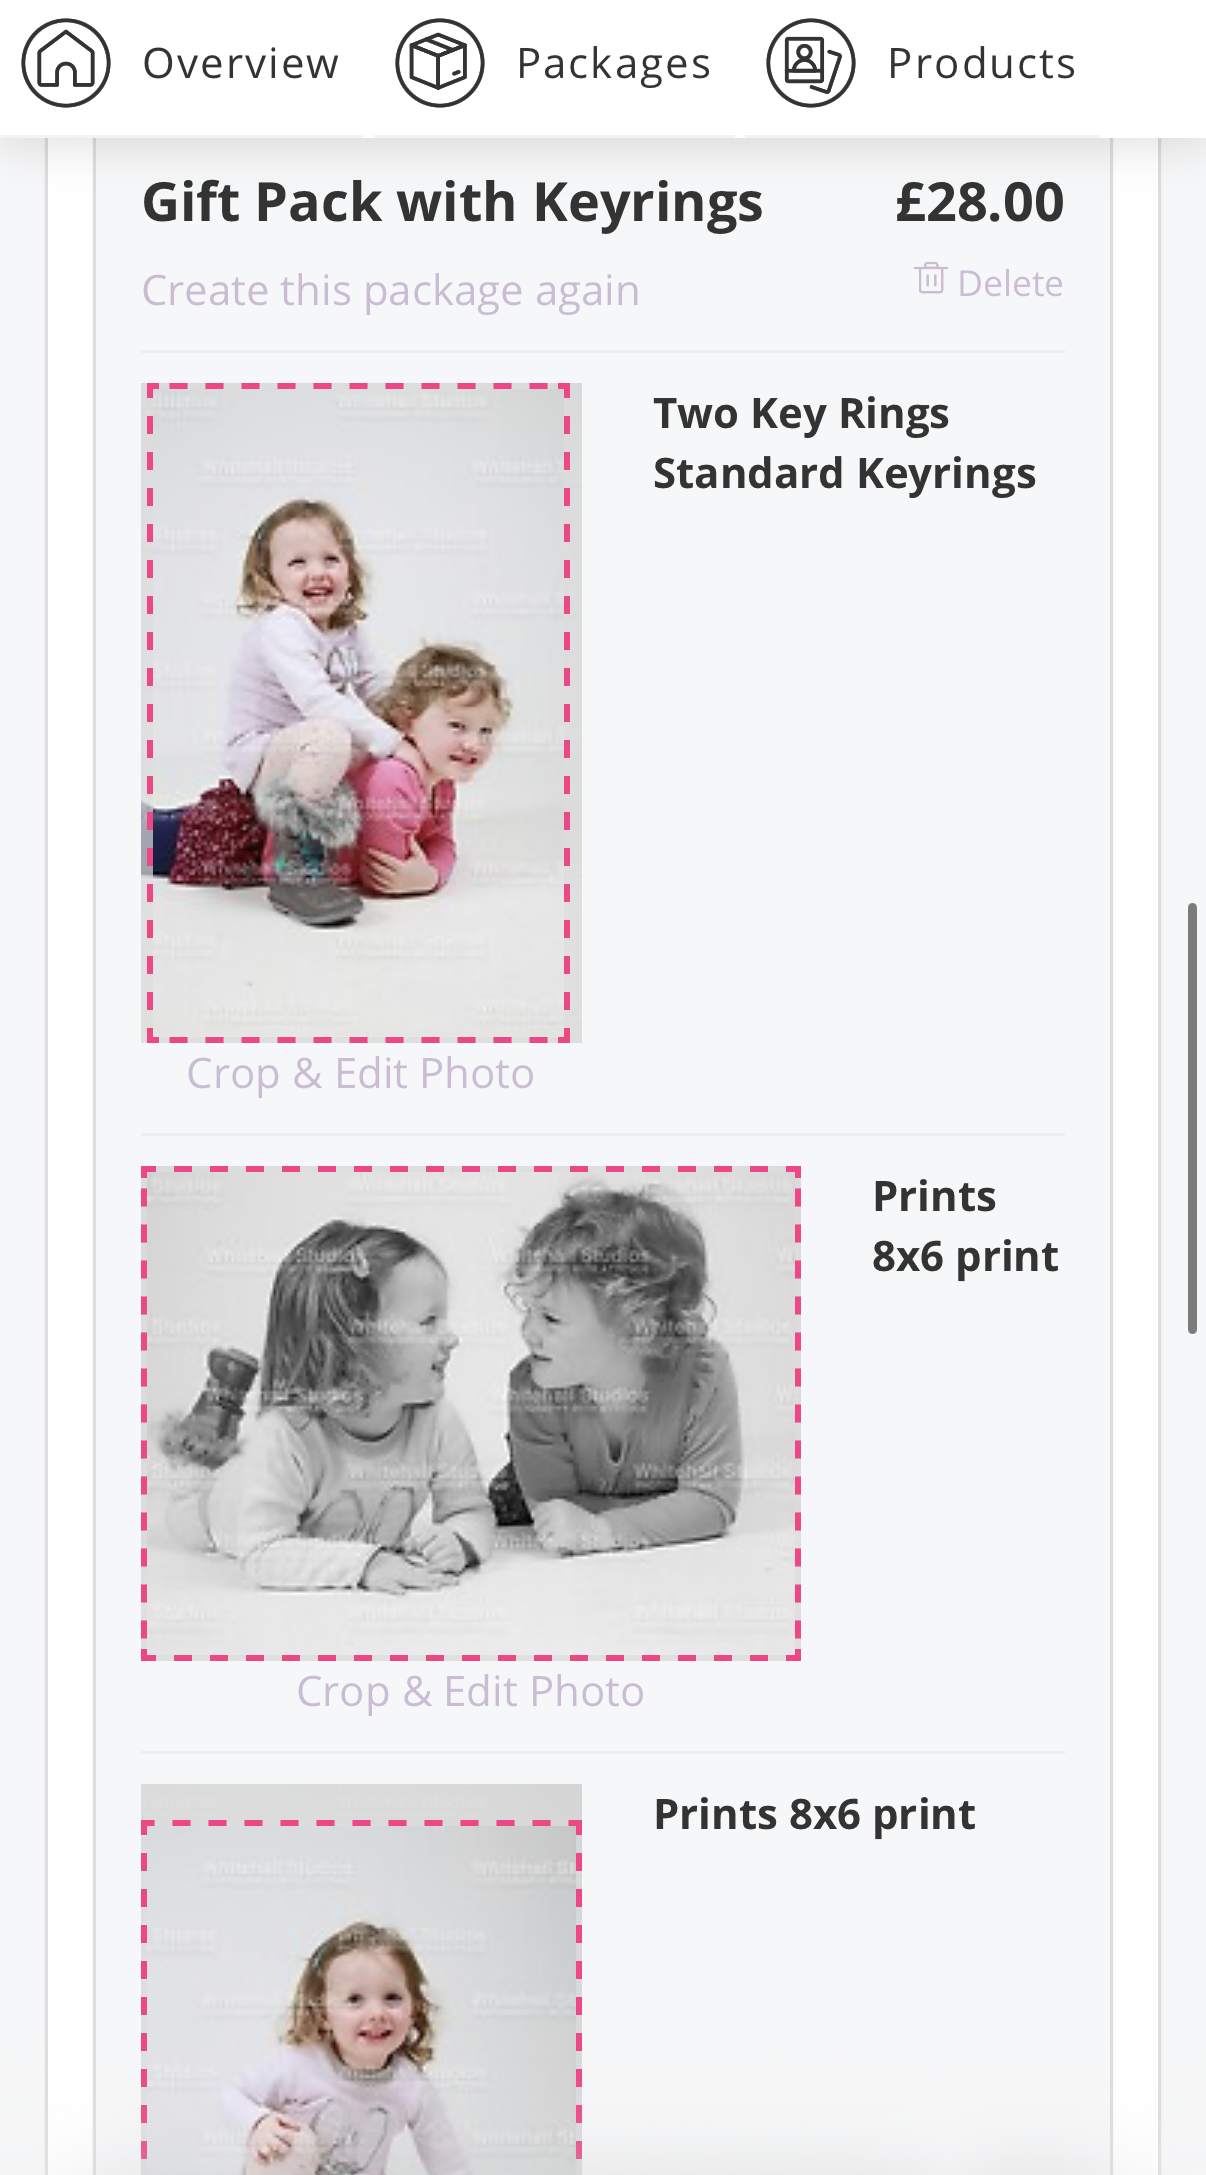
In the basket you’ll see a red box around each print showing the crop. Click on the image if you would like to adjust the crop.
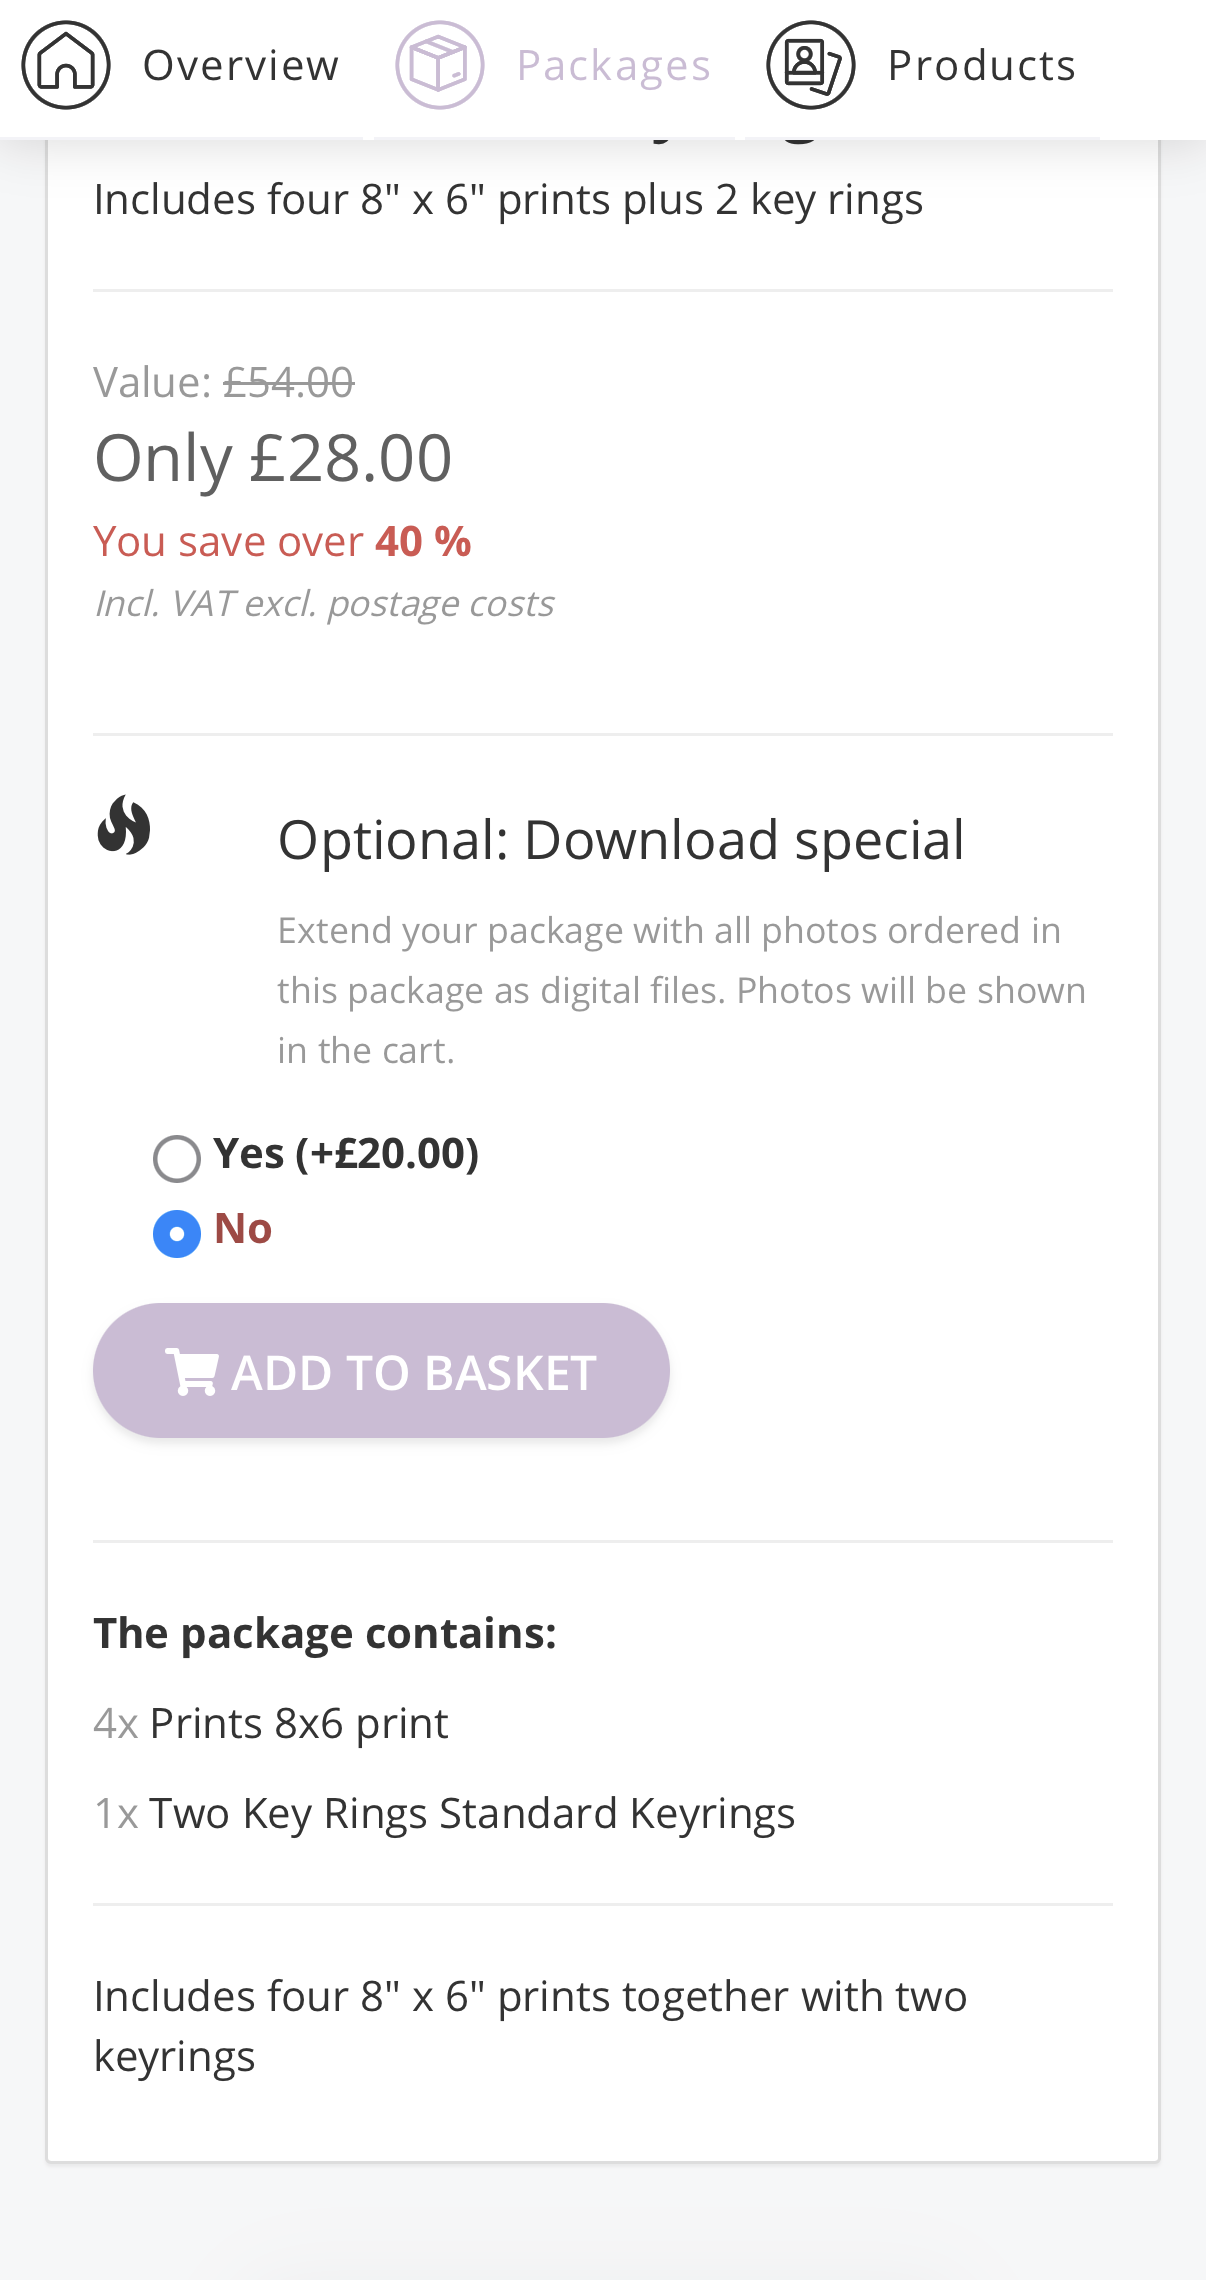
Step 7: Selecting Digital Packages
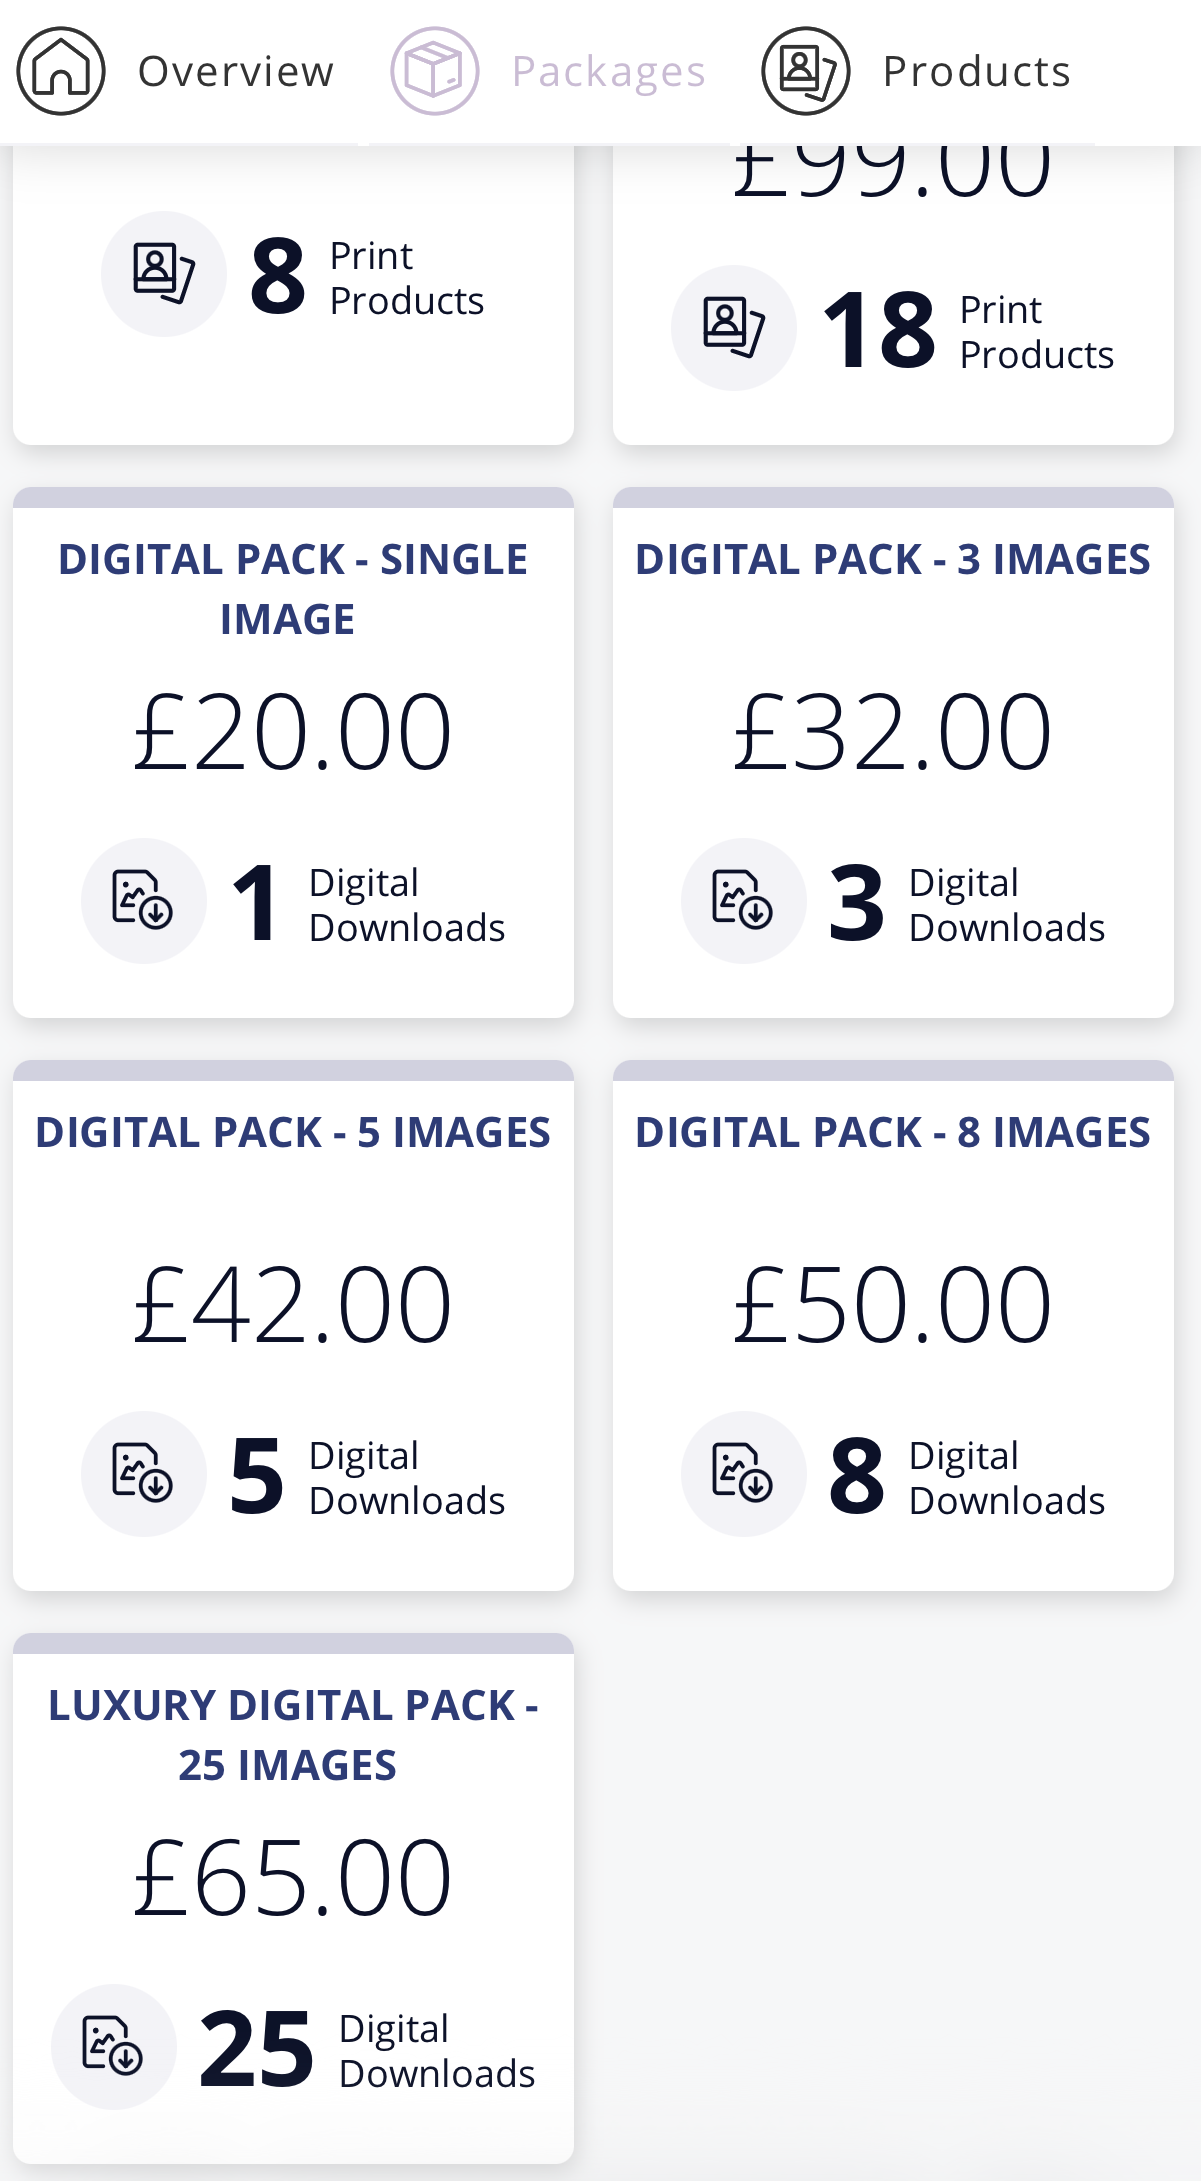
There are 6 options for digital packages:
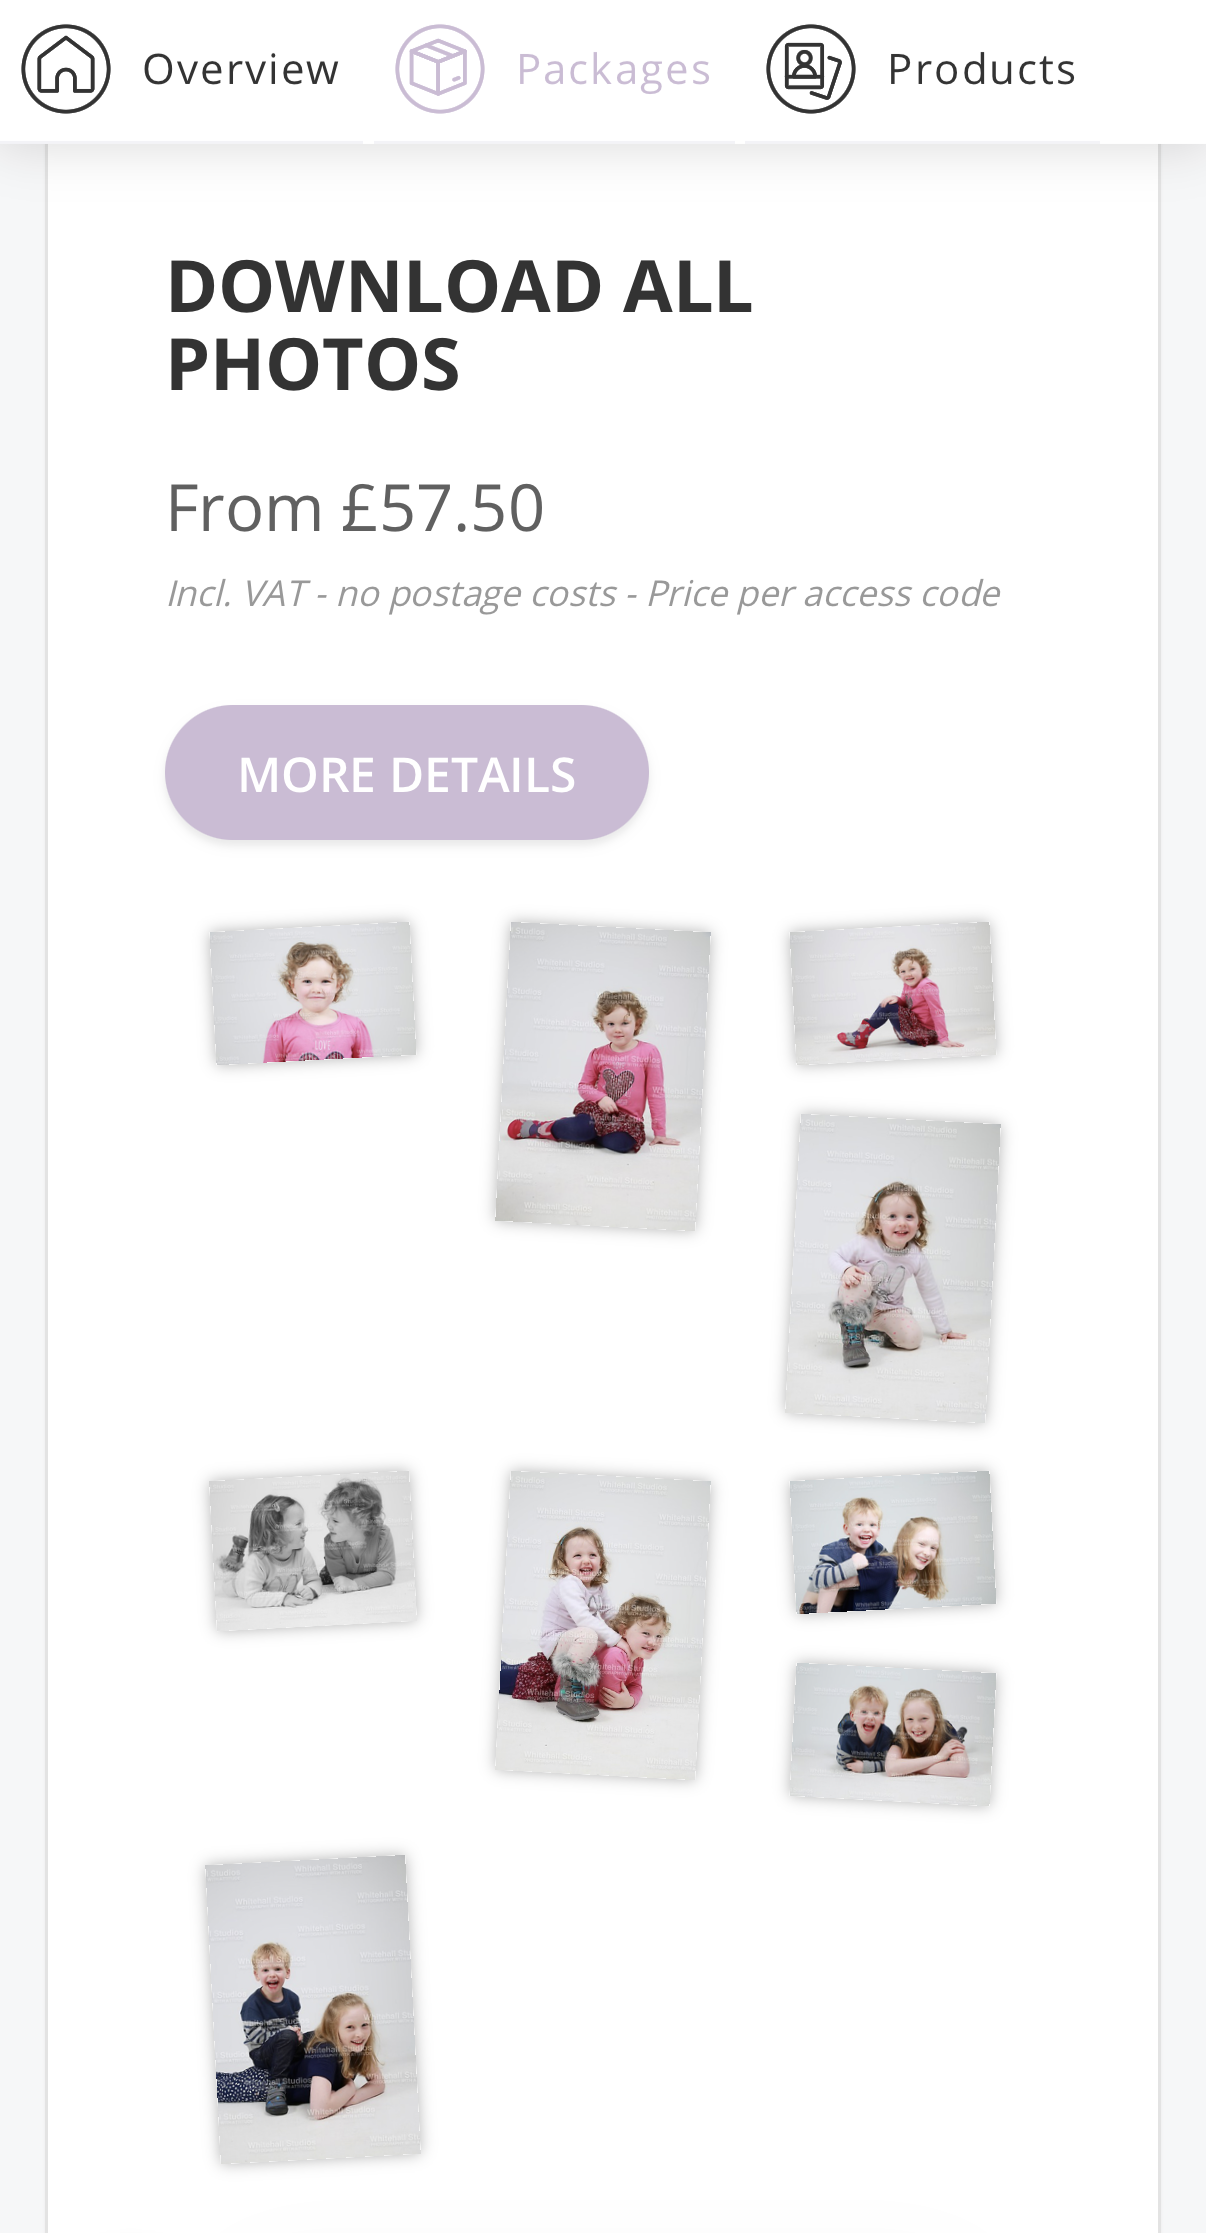
Download All Photos (this is all photos in one access code, not multiple codes)
Single Image
3 / 5 / 8 / 25 images (you can mix photos from different access codes)
Digital packages do not include prints, but there is an optional add-on of 6×4” prints with the Download All Photos package.
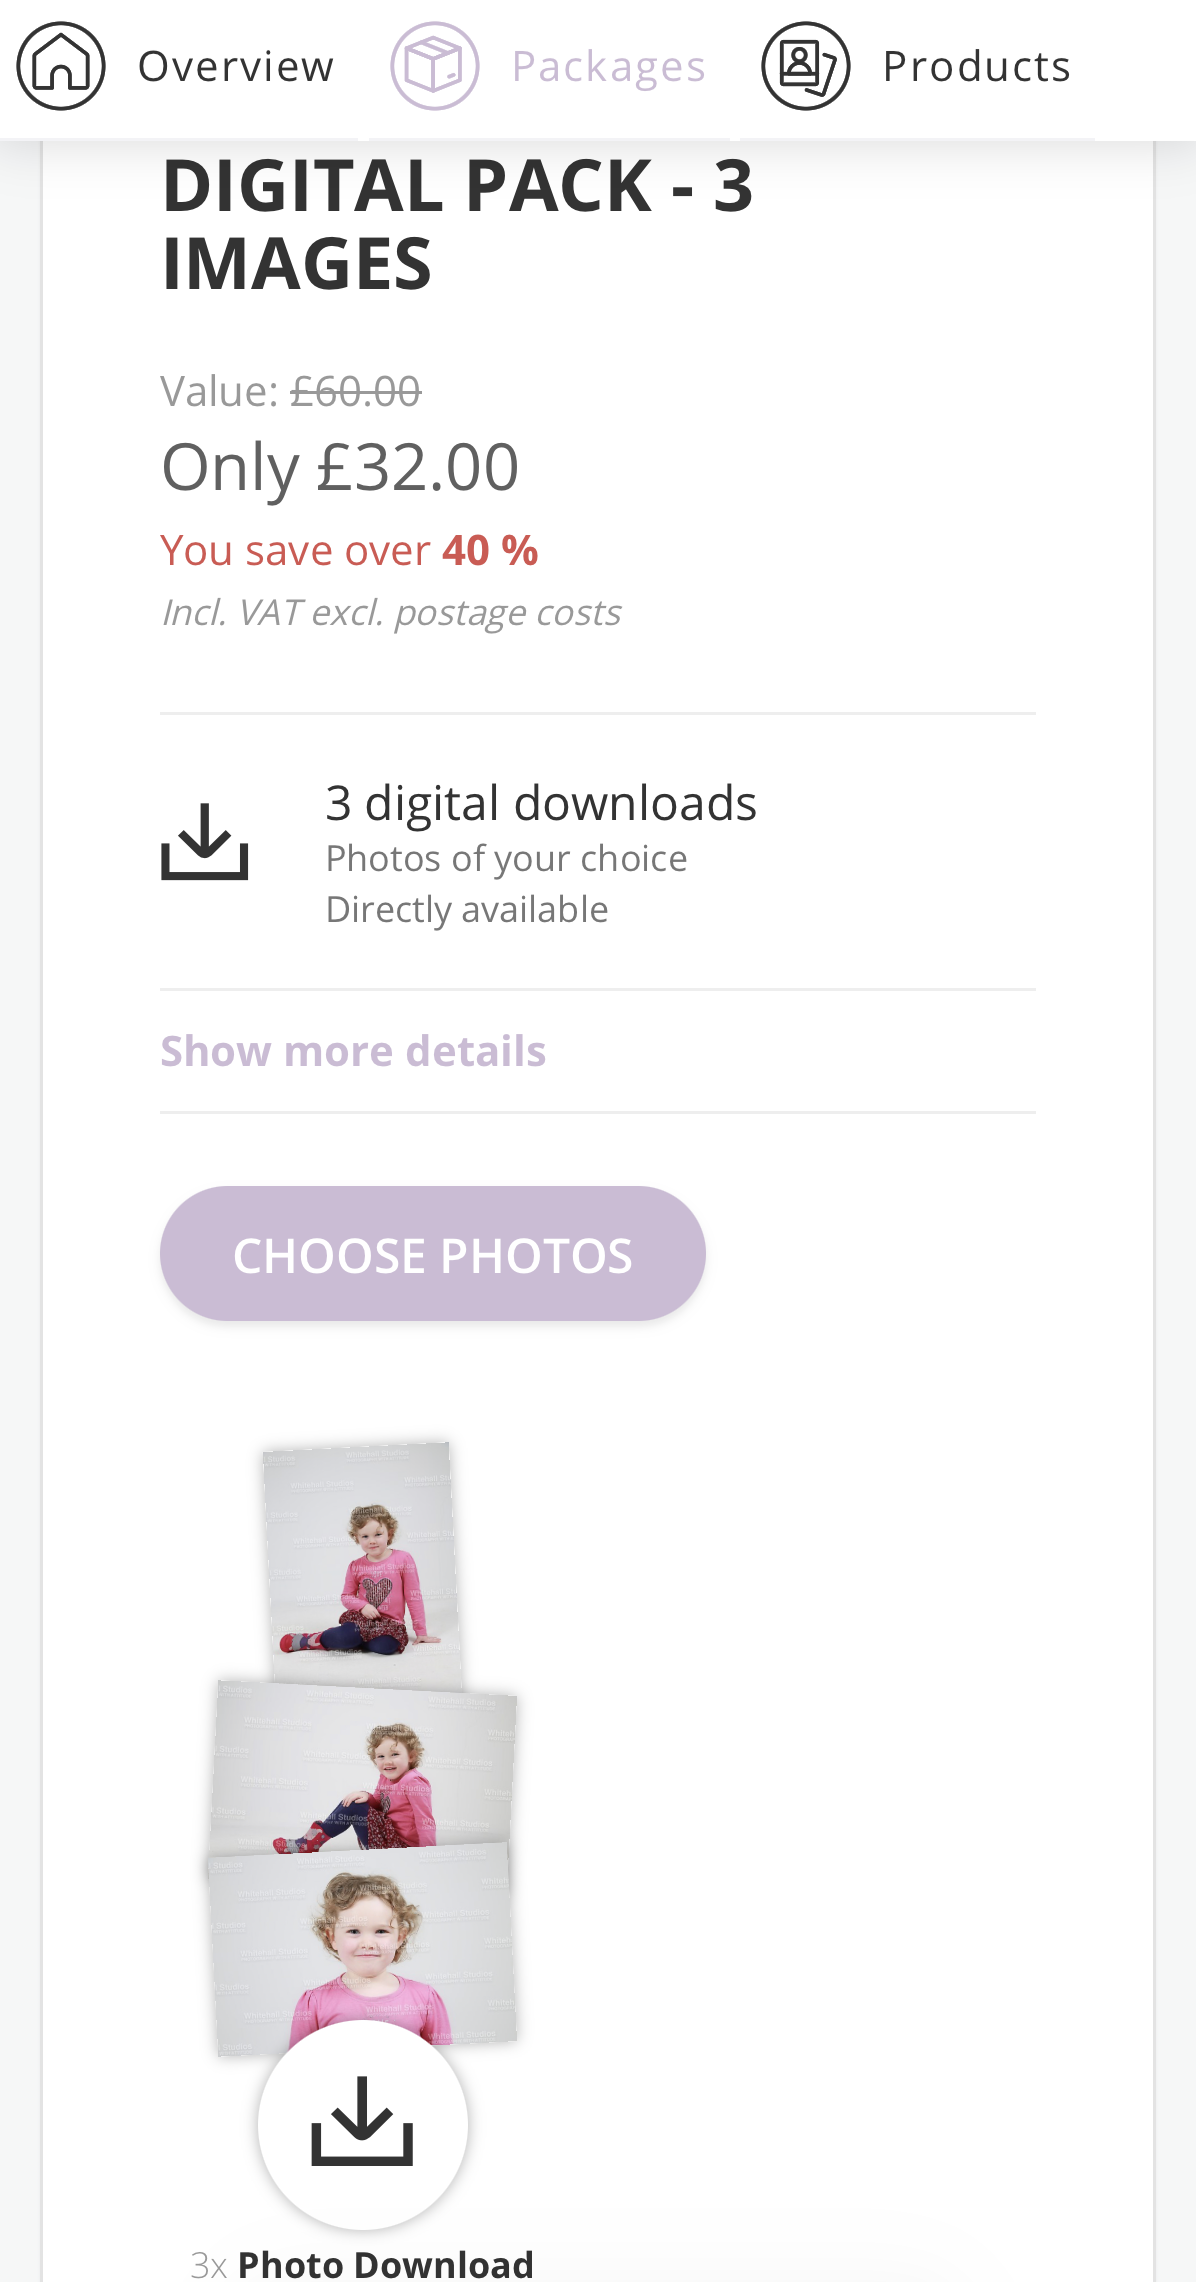
Click ‘Choose Photos’ on the package you wish to buy, then on the next page click ‘Select Photo’.
Select each of the photos you would like to include in your Download Package, then when you are happy click ‘Confirm Selection’ and when back in the package screen click ‘Add to Basket’.
Step 8: Basket, Crops, and Check Out
If you are placing your order before your 5% voucher expires, this will be added to your order automatically - you do not need to do anything. If you have a separate voucher code you can enter this (only one voucher code can be used at a time).
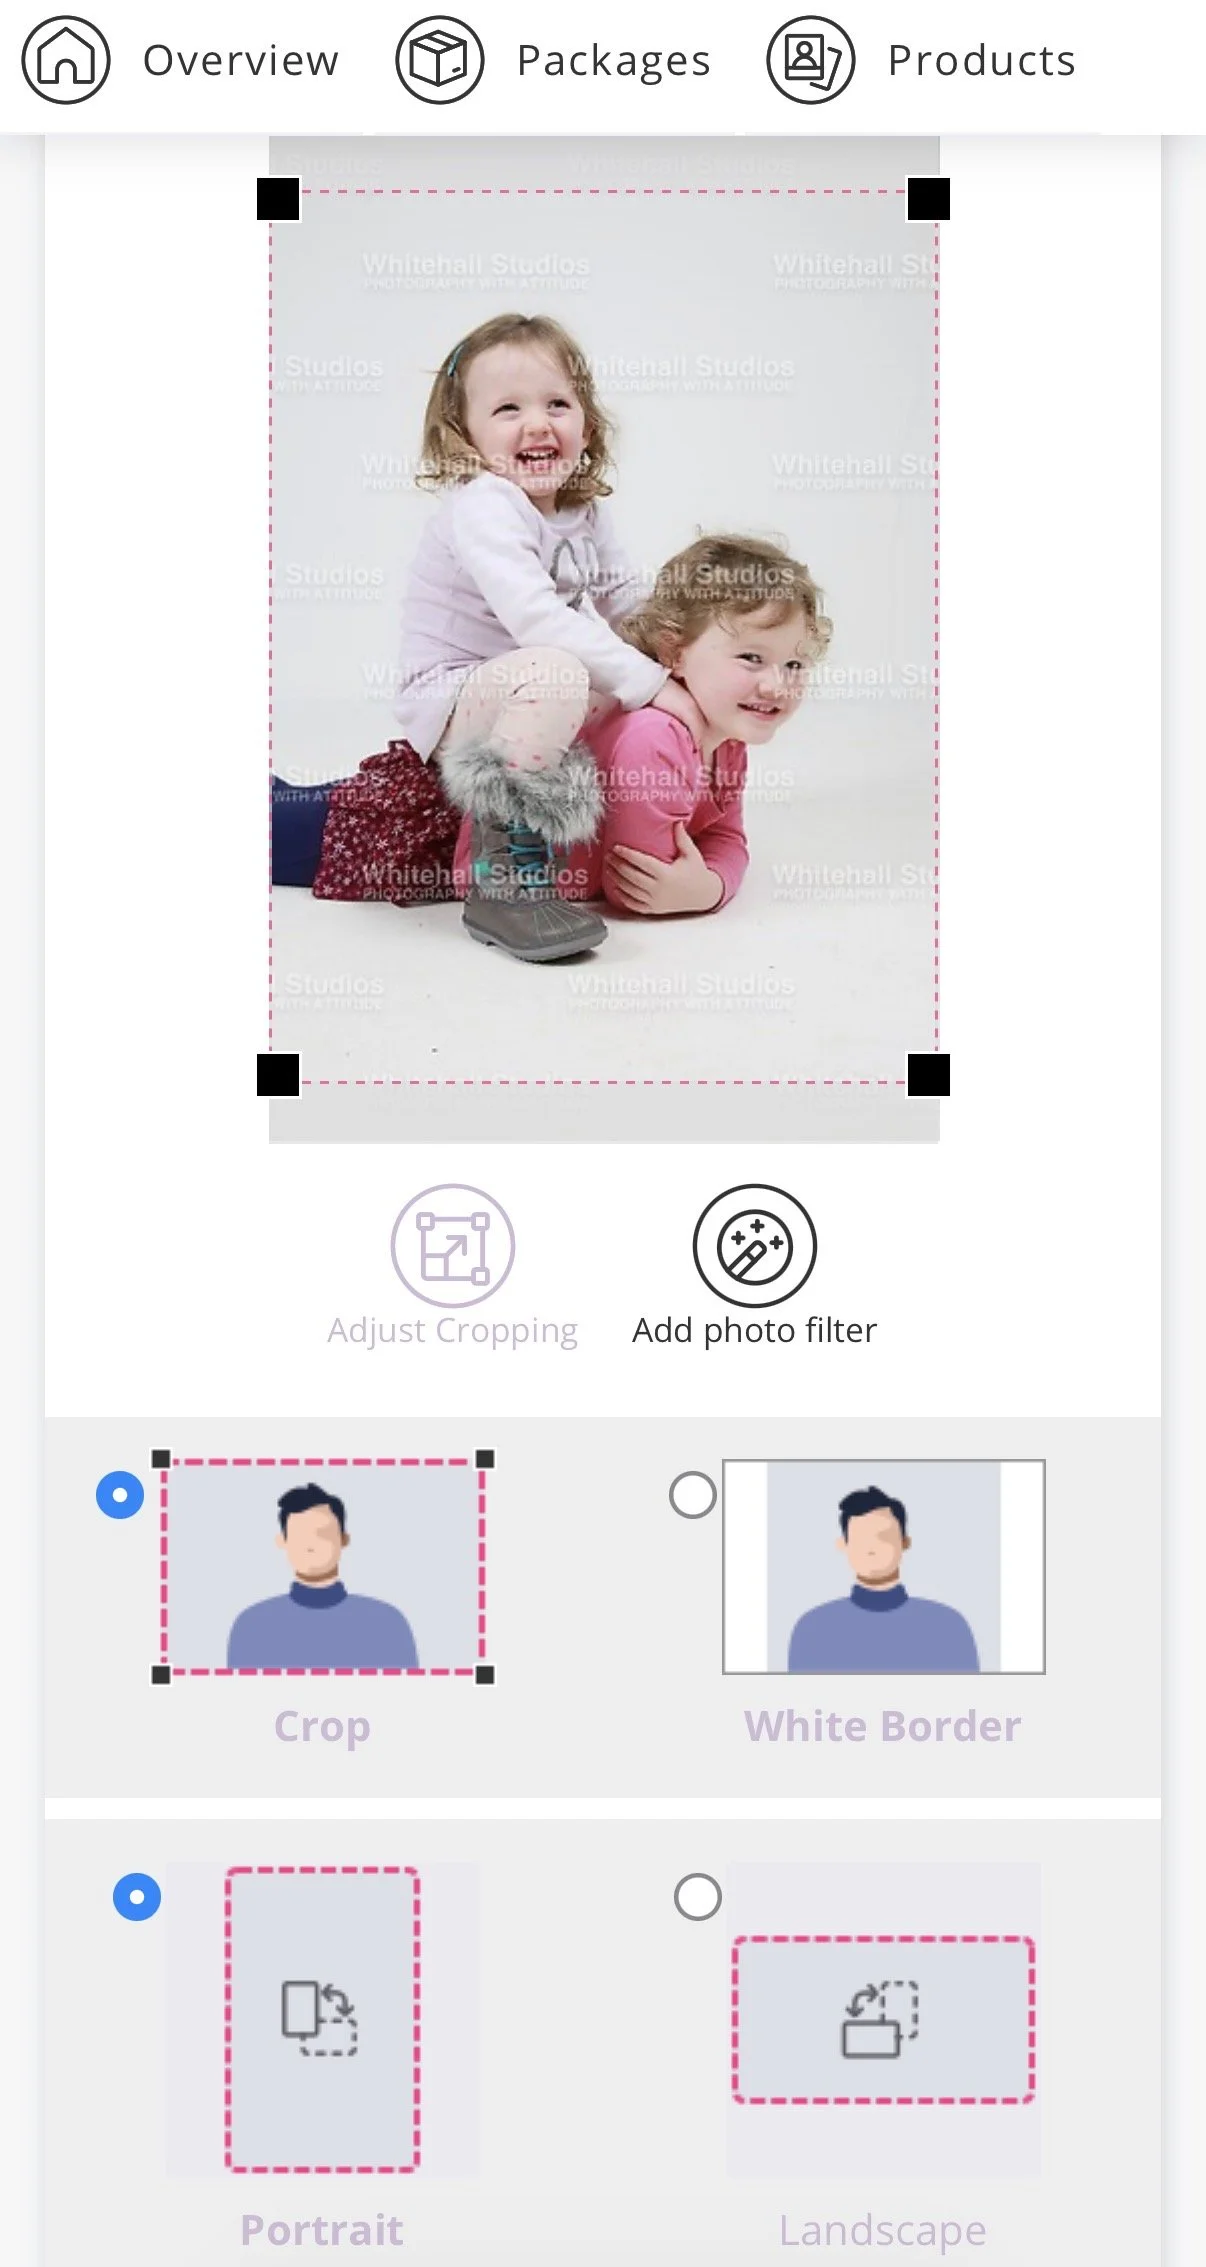
In your basket you will see a red box around each image showing the crop. If you would like to adjust the crop, click on the image.
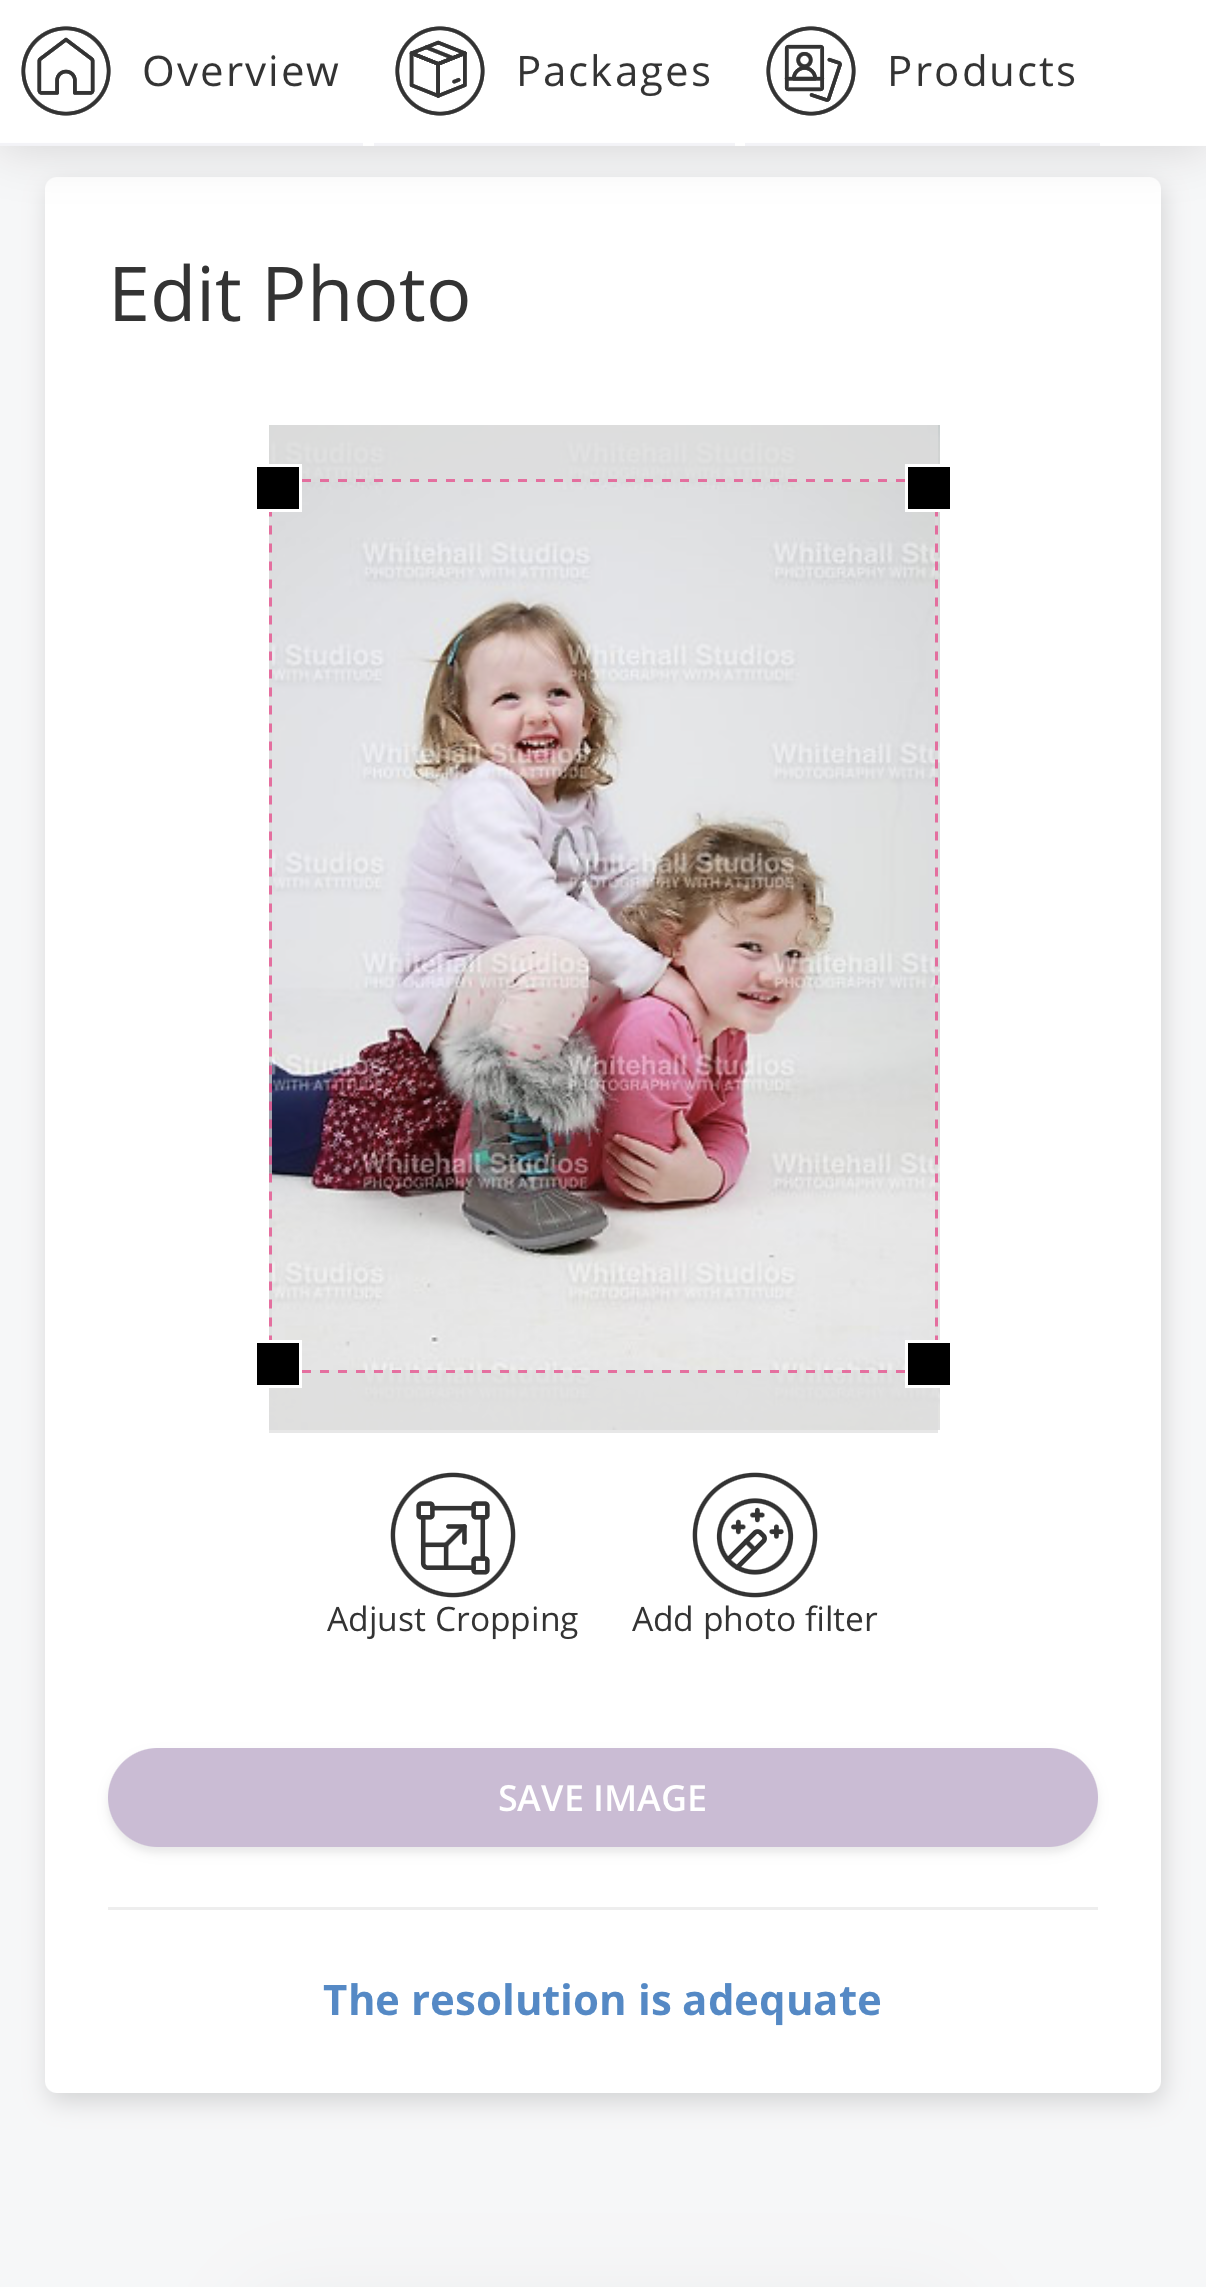
On 8×6” and 4×3” prints the top and bottom of the print will be dropped automatically. If you would like to move the crop in the ‘Edit Photo’ screen simply click and drag within the crop boundary to move it up or down.
If you wish to crop the photo in click ‘Adjust Cropping’ and drag one of the black corner boxes.
Top tip: Don’t crop too tightly to the subject - leave some space around the head.
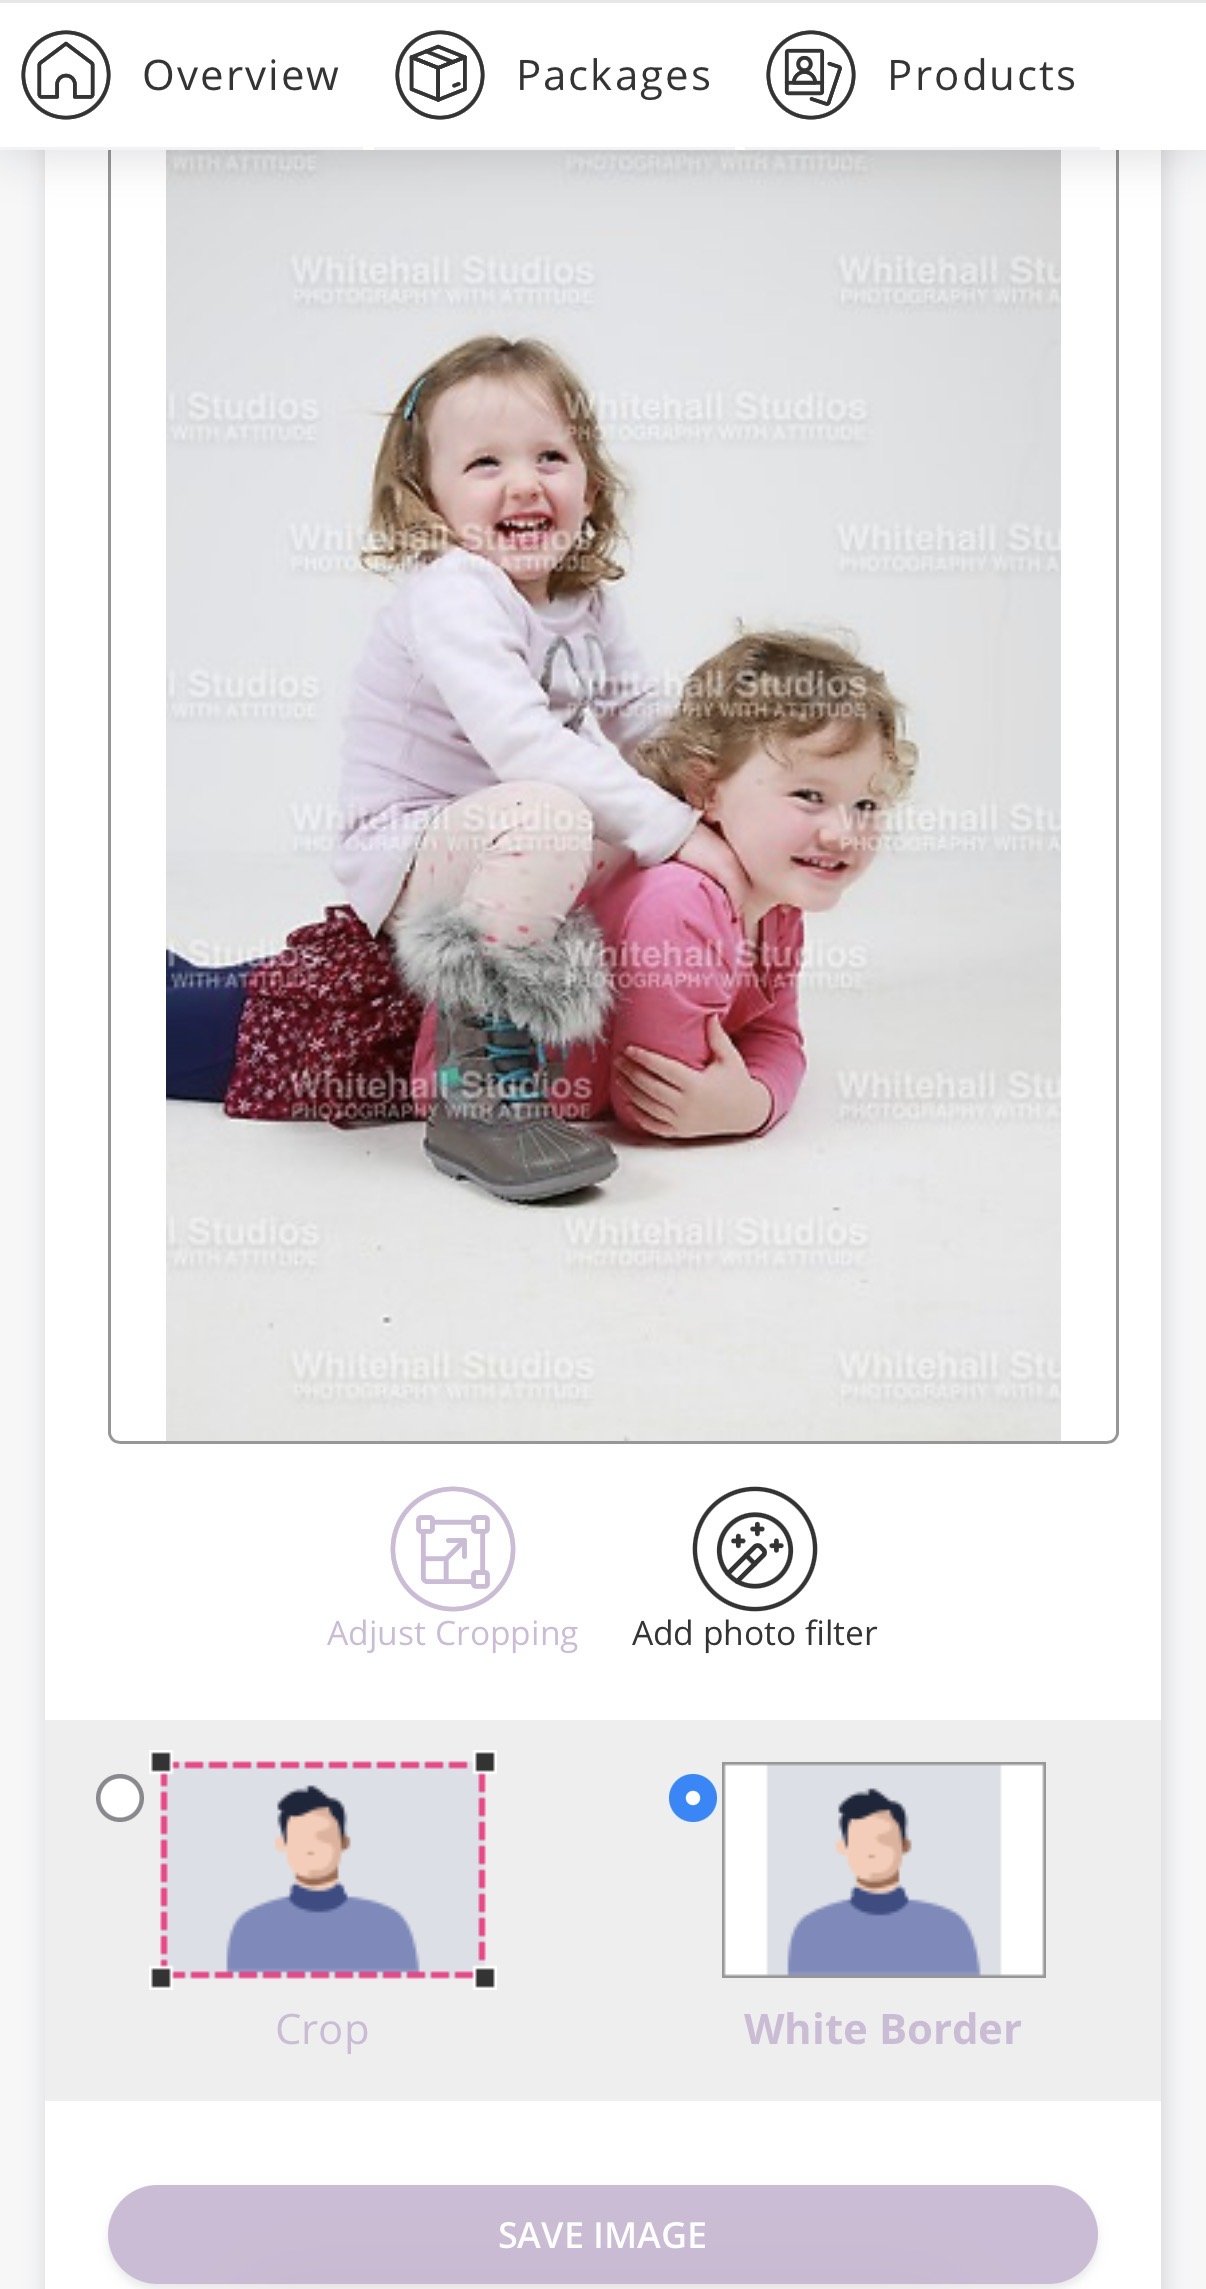
Selecting ‘White Border’ on an 8×6” or 4×3” print will mean that you see the full image on your print (no cropping) and there will be a white band down the sides, or top and bottom if the image is landscape.
You have the option to add photo effects if you wish - black and white, or sepia tone. Images may seem a little darker with photo effects applied.
Click ‘Save Images’ when your edits are complete.
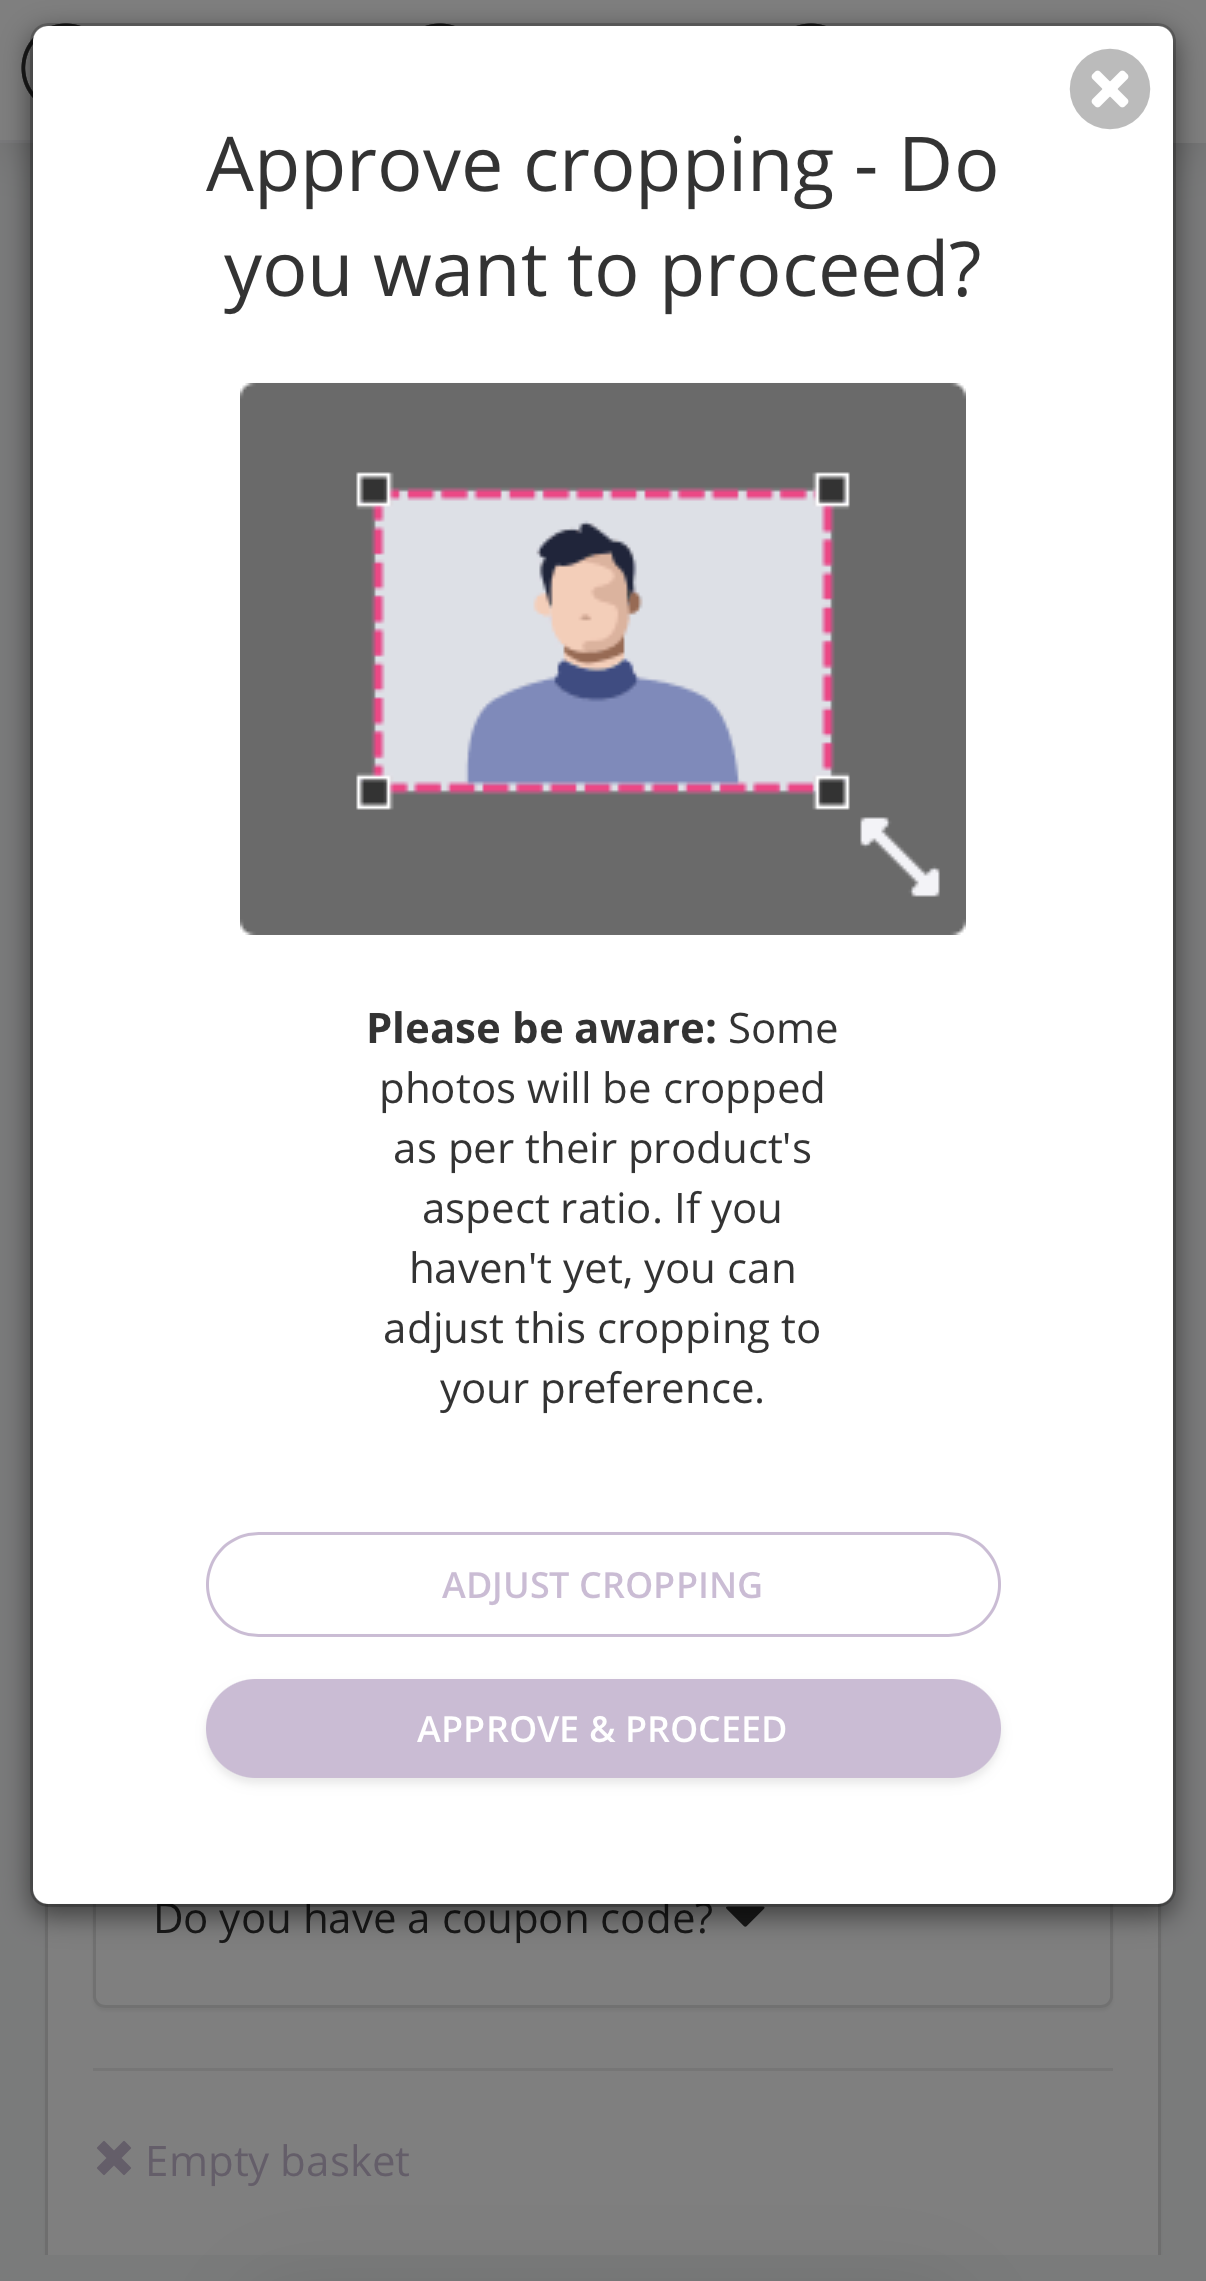
Back in the basket, when you have added any prints or packages you wish to order and checked crops and edits, click ‘Proceed to Checkout’. You will be asked to confirm you are happy with your crops and given the option to proceed or go back and edit.
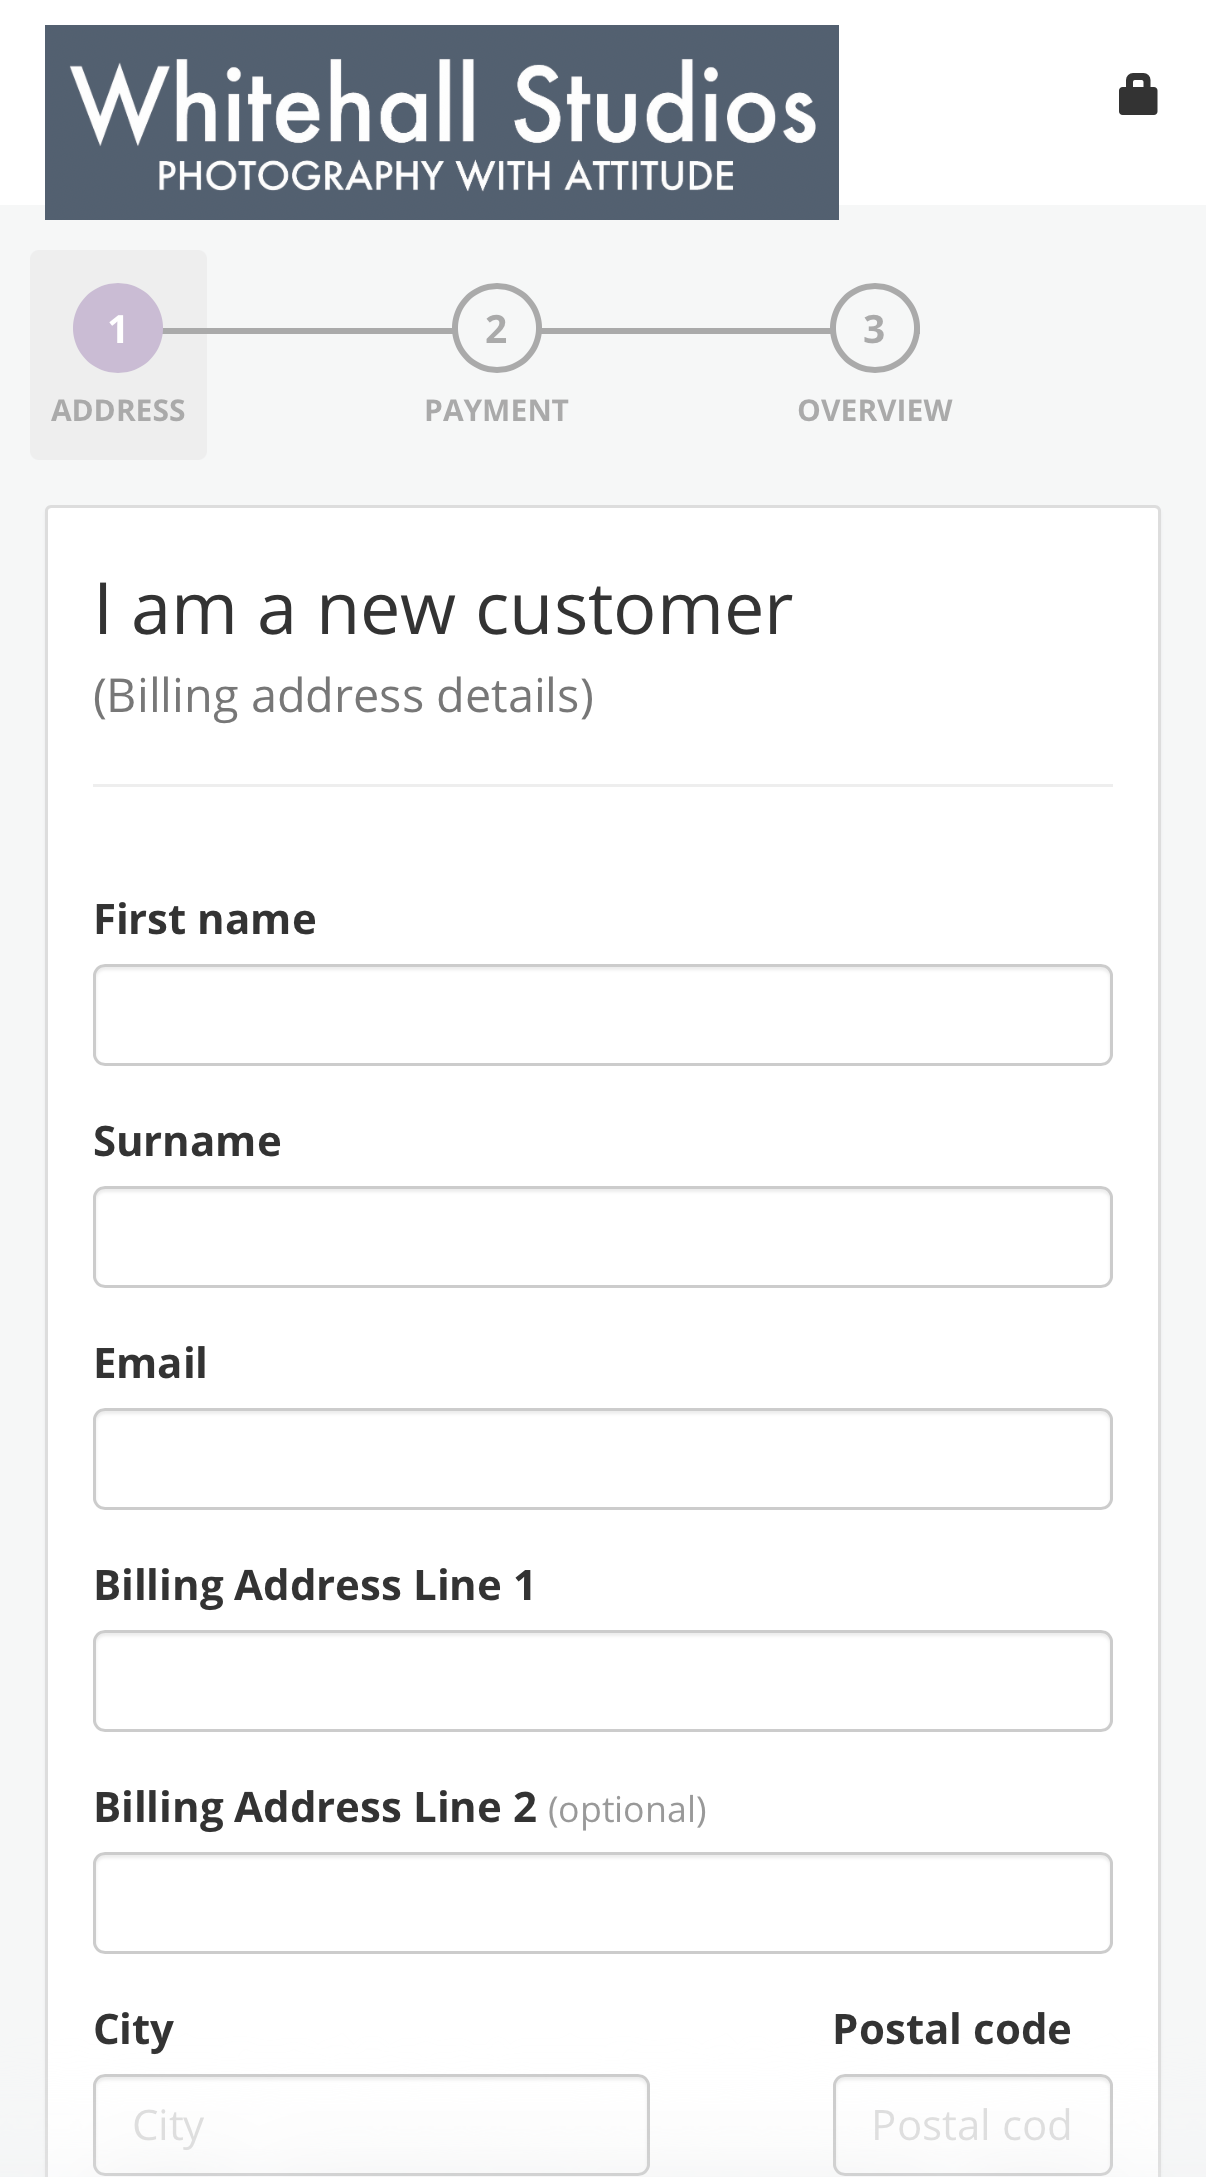
There are 3 stages to checkout - Address details, Payment details, and final overview. Please ensure you complete and confirm all pages, as well as completing any additional bank checks if required by your payment method.
Once you have completed your order you will receive a confirmation email (check your junk folder if you don’t see this), as well as a link to your downloads if you purchased a Download Package.
Step 9: Delivery
If ordering before the batch shipping deadline (this is usually the same date as the 5% voucher code expiry) you will have the option on choosing free shipping to the school. All orders in one job with this option selected will be printed in one go within 10 working days days of the deadline date being reached, and then delivered to the school in one delivery within about a week. The school will distribute these orders to be taken home with your child.
Home delivery is available at a cost before and after the batch shipping deadline, up until the gallery is archived (galleries are archived in February and August).
If you have any concerns about your order not being with the school or not arriving by post please contact us at hello@whitehallstudios.co.uk - please include any relevant information such as your order number, the school/nursery name, your child’s name and class (if applicable), and the email address used to place the order. You will find your order number on your confirmation email.
Step 10: Archiving and Lost Access Codes
Each February and August we archive the previous 6 months of galleries. If you find you cannot access your gallery because it has been archived, send us an email at hello@whitehallstudios.co.uk with any relevant information such as your child’s name, school, and class (if applicable).
Similarly, if you have lost your Access Code send us the above information and we will send you a direct link to your gallery and your Access Code.